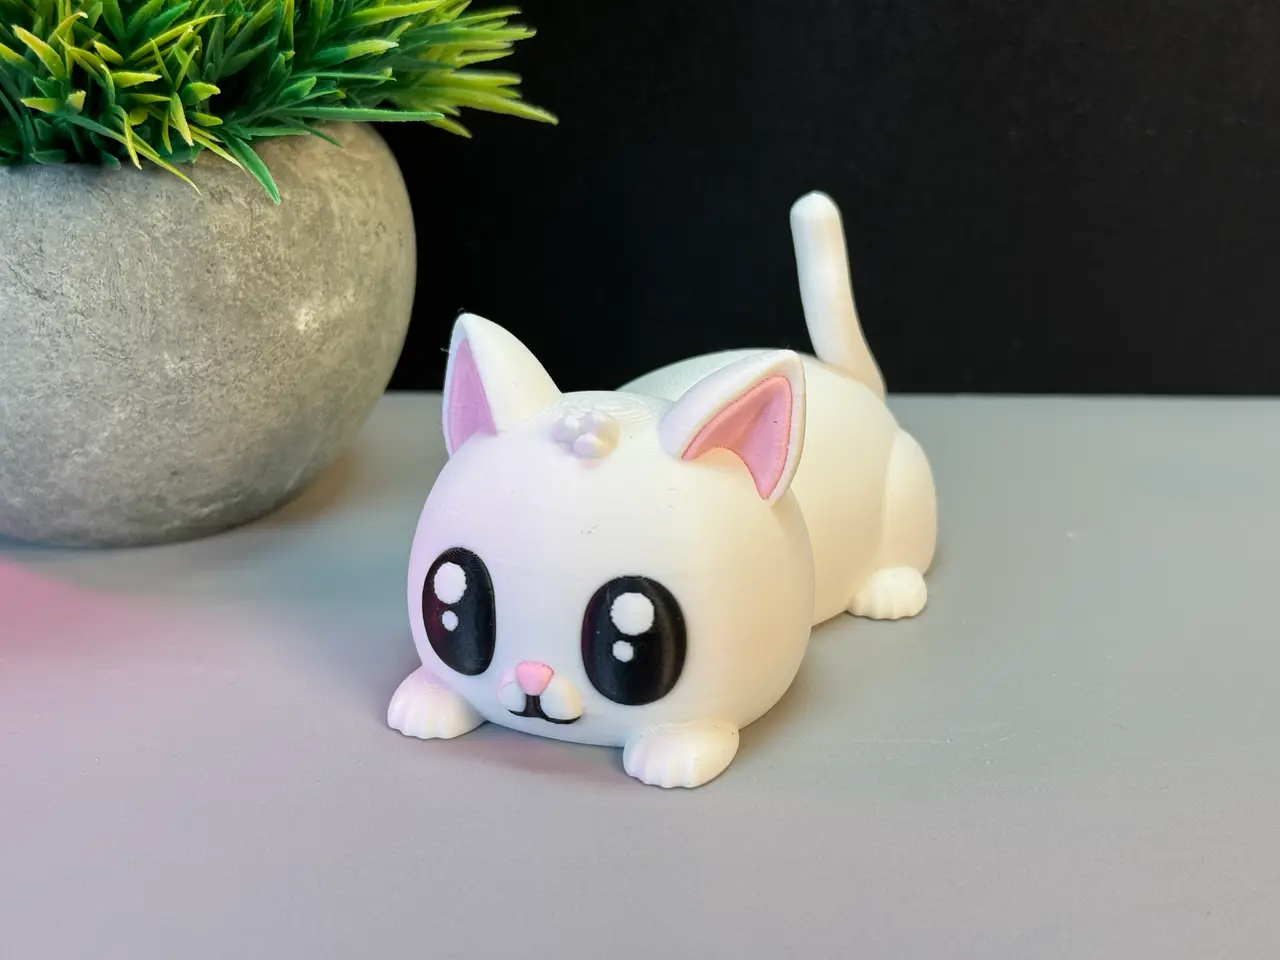
Cute Cat
por 3DPrintyi en Printables
A cute cat (Single or Multicolor) Now with the option to print out multiple parts.
Licencia
Solo uso personalStandard Digital File License
Licencia estándar de archivos digitales: solo uso personal. No se permite compartir, revender ni subir el archivo a otros sitios, ni vender las impresiones.
Al descargar aceptas respetar la licencia y dar crédito a 3DPrintyi.
Archivos (13)
- Cute_Cat_Multicolor3ColorVersionPrusaSlicerXL.3mf 3MF · 3,0 MB
- Cute_Cat_Multicolor3ColorVersionBambuStudioX1C.3mf 3MF · 3,0 MB
- Body.stl STL · 16,1 MB
- Ear_left.stl STL · 873 KB
- Ear_right.stl STL · 481 KB
- Eye_right.stl STL · 854 KB
- Eye_left.stl STL · 1,1 MB
- Cheek.stl STL · 916 KB
- Mouth.stl STL · 1,1 MB
- Nose.stl STL · 212 KB
- Cute_Cat_MultiplePartsPrusaSlicerMK4.3mf 3MF · 5,9 MB
- CuteCat_MultiplePartsBambuStudioX1C.3mf 3MF · 6,3 MB
- Cute_Cat.stl STL · 10,8 MB
- Categoría
- Varios
- Formatos
- 3MF, STL
- Descargas
- 6,723
- Publicado
Sobre este modelo
Tips for printing: - Supports: No
- Layer height: 0.16mm (optimal)
- Wall loops: 3
- Infill: 15%
- Seam position: back
- Wall generator: -
- Detect thin walls: No
- Brim: Yes
Colors and filament I used (3 Color Version): - PLA / White - for the body and eye
- PLA / Black - for the eye
- PLA / Pink - for the nose and ears
Or decide for yourself which colors and how many you want to use! When you decide to print my multicolor Pre-Sliced (3mf file) for BambuLab I would recommend printing several models at once, not just one, to reduce waste! ---------------------------------------- Multiple Parts: Tips for printing: - Supports: Yes (tree)
- Layer height: 0.10mm (fine (looks better)) or 0.16 (optimal)
- Wall loops: 3
- Infill: 15%
- Seam position: back
- Wall generator: -
- Detect thin walls: No
- Brim: Yes
You can now print out several parts and simply glue them on. (See Picture below) The mouth, nose and cheek with the body do not go together easily. Please use a file or something else and carefully try to file away any unevenness!!!!! There are points on every part to help you guide the parts in the right place! Below I wrote a small documentation for assembling. First: The ears and eyes are easy to attach, you can glue them right away! For the mouth part put the cheek together with the nose and mouth. Don't use any glue jet! Second: Now lightly press the parts into the body. See if these fit perfectly if not file a small part away or there is still a small bead (brim) on the parts! We have to do this because the tolerances are extremely small so that it looks good in the end. If everything fits afterwards, you can glue them and press them in with a little bit of force. Finished! :)
Descripción original del autor, publicada en Printables.