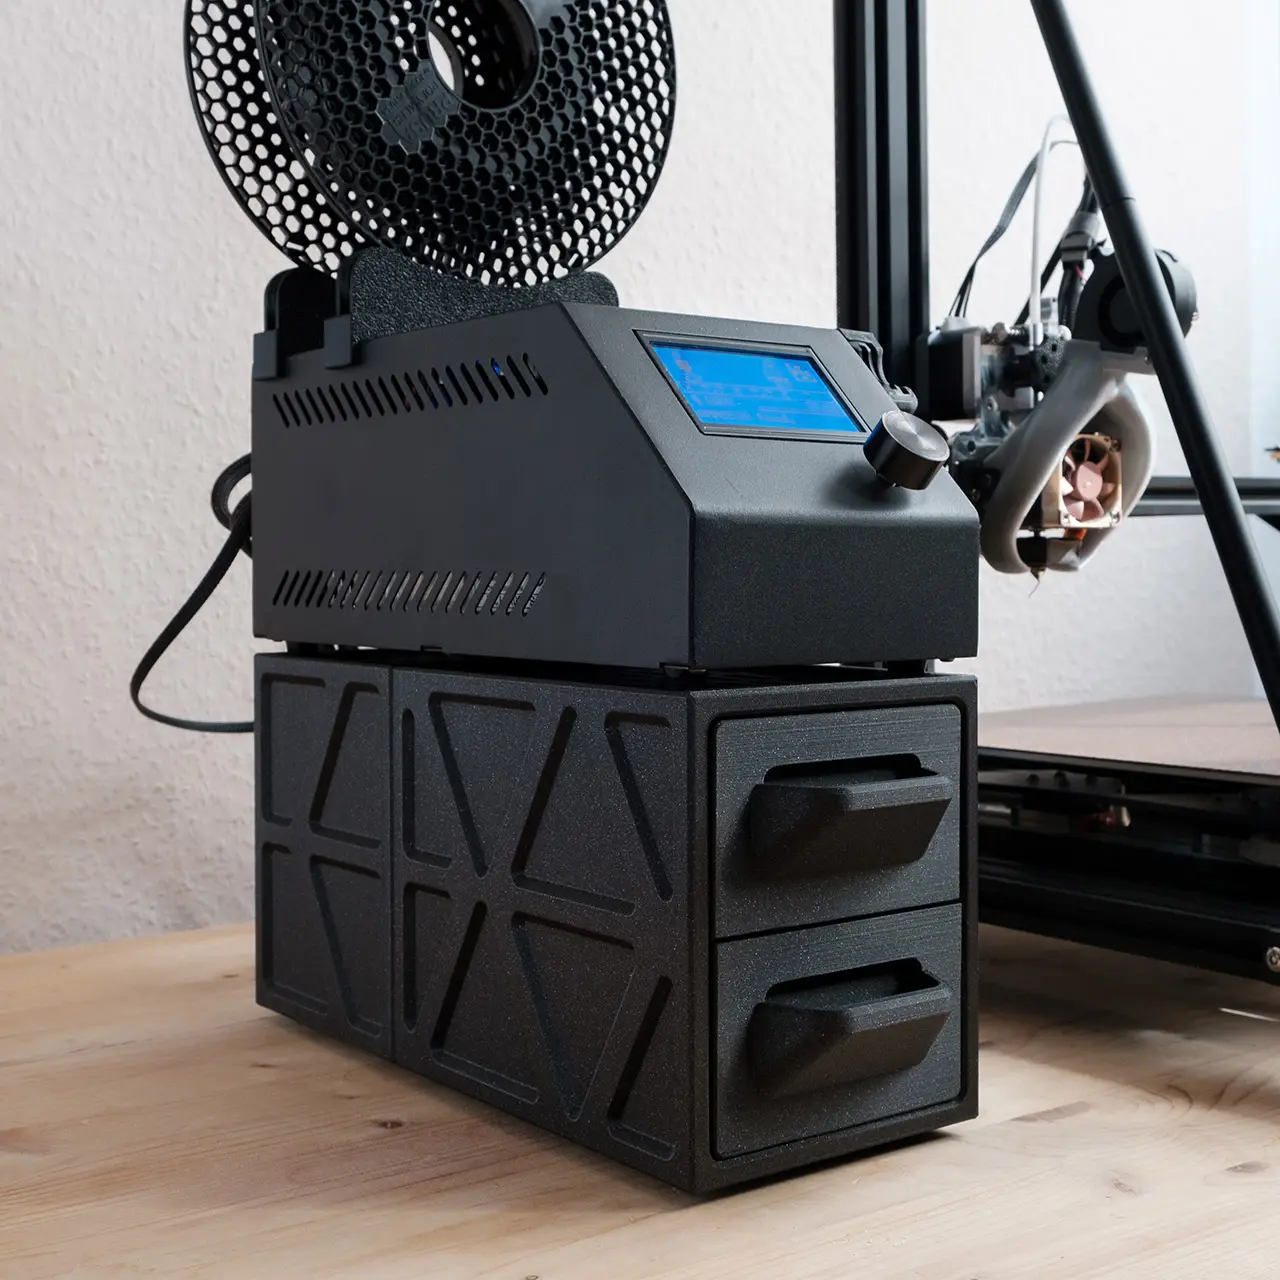
Creality CR-10/10S - Control Box Drawer Stand
por Andreas Mass en MyMiniFactory
Description
MyMiniFactory entrega los archivos a usuarios con cuenta gratuita
Licencia
Solo uso personalCC BY-NC-SA 4.0 — Atribución, no comercial, compartir igual
Uso personal dando crédito; sin fines comerciales y las modificaciones con la misma licencia.
Al descargar aceptas respetar la licencia y dar crédito a Andreas Mass.
Archivos (7)
- Cr10 Controlbox Stand Case Back.stl STL
- Cr10 Controlbox Stand Case Front.stl STL
- Cr10 Controlbox Stand Drawer Back Bottom.stl STL
- Cr10 Controlbox Stand Drawer Back Top.stl STL
- Cr10 Controlbox Stand Drawer Front Bottom.stl STL
- Cr10 Controlbox Stand Drawer Front Top.stl STL
- Cr10 Controlbox Stand Feet.stl STL
- Categoría
- Tecnología
- Formatos
- STL
- Descargas
- 546
- Publicado
Sobre este modelo
Description
For better use of space and organization I made this stand for my CR-10S onto which the control box can neatly stack. It features two bigger drawers at the front for tools and such, as well as two smaller drawers at the back that can be used to house a Raspberry Pi or other small devices with openings to allow for cables to pass in and out.
I printed mine with the Galaxy Black Prusament PLA which looks stunning and also helps to make print layers less visible. It also nicely compliments the matte black tone of the control box.
Print and assembly notes:
All parts can be printed without supports. It's absolutely enough to print each part with just 2 outlines/perimeters at 0.42-48 print width and around 15-20% infill. Only the the feet might need more infill for good measure. Depending on your print bed adhesion I recommend using 1-2 layers of 5-6mm wide brim around the case/drawer parts to avoid corners from lifting over time.
For the assembly of the two case halfs you will preferably need 6x of roundhead M4x12 bolts, 6x M4 nuts and preferably M4 spacers. I didn't model fitting nut slots right into the model because some people might have trouble printing those perfectly depending on their printer calibration. Instead the recessed holes around the nuts are wide enough for a M4 nut driver/bit. If you do not have the right bolts and nuts you can simply glue the two half together using super glue as well.
The feet can be glued on using super glue. In case you also want to print your feet out of TPU like I did, I recommend using more flexible glues which can be used with rubbers.
If you found this design useful please consider supporting me with some coffee money. The design, iteration and proper documentation for ya'll took a bit of time. I love seeing finished prints as well, so if you find the time please share a photo of your make!
Enjoy :)
Descripción original del autor, publicada en MyMiniFactory.