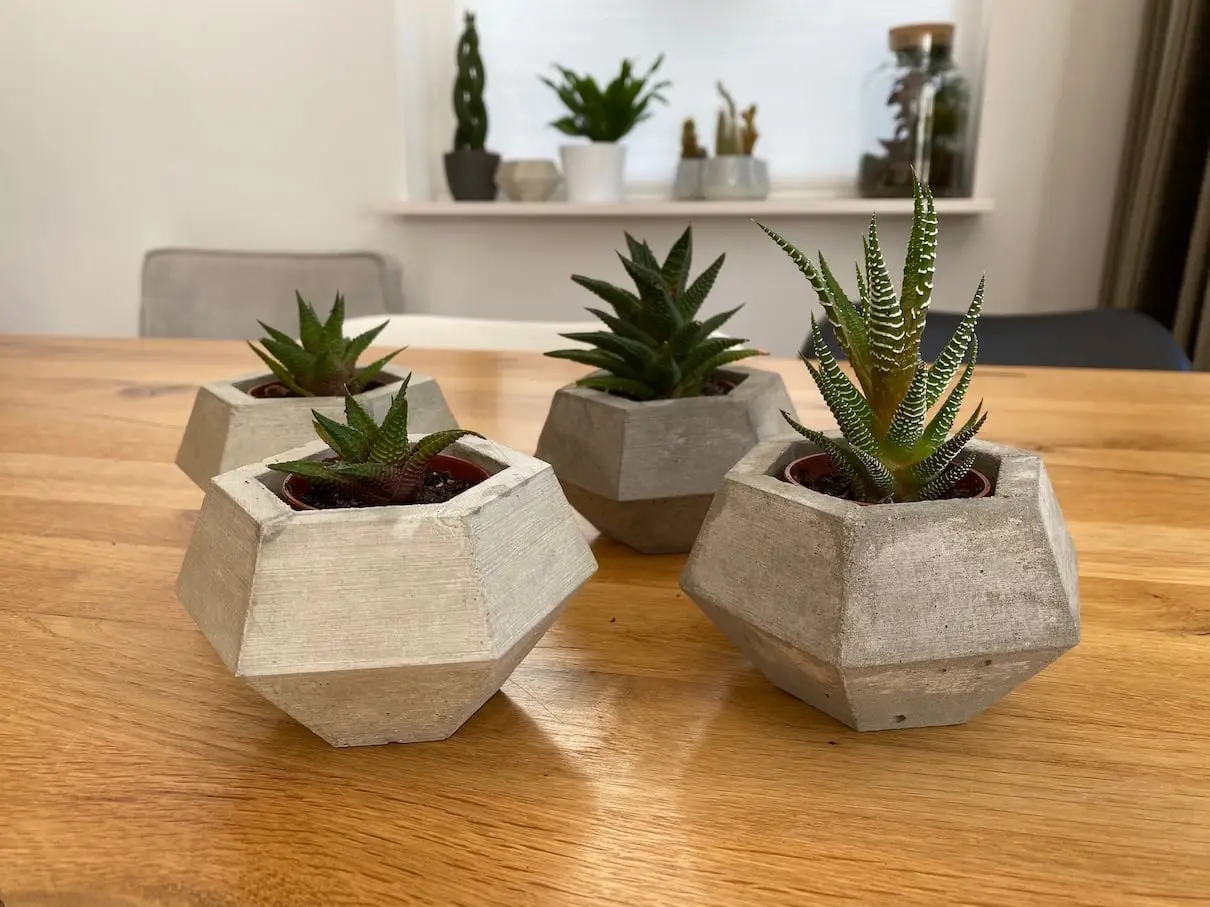
Concrete mold for planter - plant pot
por Paul Stevens en Thingiverse
I was looking for some concrete planters on thingiverse and I found some really nice ones that I printend and made some planters with, but I wanted to try for myself to make one. I had a sort of hexagon design in mind and I also wanted the mold to be reusable. This is what I came up with. I made 8..
Licencia
Uso comercial permitidoPuedes imprimirlo, modificarlo y venderlo dando crédito al autor.
Al descargar aceptas respetar la licencia y dar crédito a Paul Stevens.
Archivos (4)
- Categoría
- Hogar
- Formatos
- STL
- Descargas
- 8,712
- Publicado
Sobre este modelo
I was looking for some concrete planters on thingiverse and I found some really nice ones that I printend and made some planters with, but I wanted to try for myself to make one. I had a sort of hexagon design in mind and I also wanted the mold to be reusable. This is what I came up with. I made 8 planters already and I really like them. Because the mold is quite strong I only had to reprint one shell part because I broke it trying to get out the concrete planter. I use a balloon around the center part to get it out more easily, a very nice trick which I got from chappel. = How to make some What to print - 2x Shell - 1x Center - 1x Upper ring - 1x Bottom ring
No supports needed. I increased the wall count to 3 and infill to 35 for the rings. Depending on your printers precision you can to scale down the center part X and Y, for me it was not necessary. = What else you need - Quick dry concrete for the volume of the planter, that is around 300ml. - Some cups and spoons to mix the concrete and a kitchen scale to measure the proportions. - Gloves and glasses to protect your hands and eyes. - Optional: Balloons to get the center part out more easily (they break often so buy some). - Optional: Sander to get the air bubbles out of the liquid concrete. - Optional: Concrete sealer to make the planters more water resistant.
= Steps to make one - Remove the end of a balloon and put it around the center part. - Put everything together, use the rings to hold everything together. - I used two glue clamps to attach the mold to a workbench. - Calculate the water and concrete you need and put them in separate cups. - Now you have to act fast so make sure the sander without sandpaper has power, your gloves and glasses are on and everything is ready. - Mix the concrete very well and fast and poor it in the mold. - Use the sander to vibrate the mold from below the workbench. You will see air bubbles pop at the surface. Add some more concrete when necessary and repeat. - Wait 16-24 hours, or what your concrete instructions tell you. - Undo the rings and carfully get the concrete planten out of the mold. - Let it dry for another 1 or 2 days and optionally paint the planter with concrete sealer.
Descripción original del autor, publicada en Thingiverse.