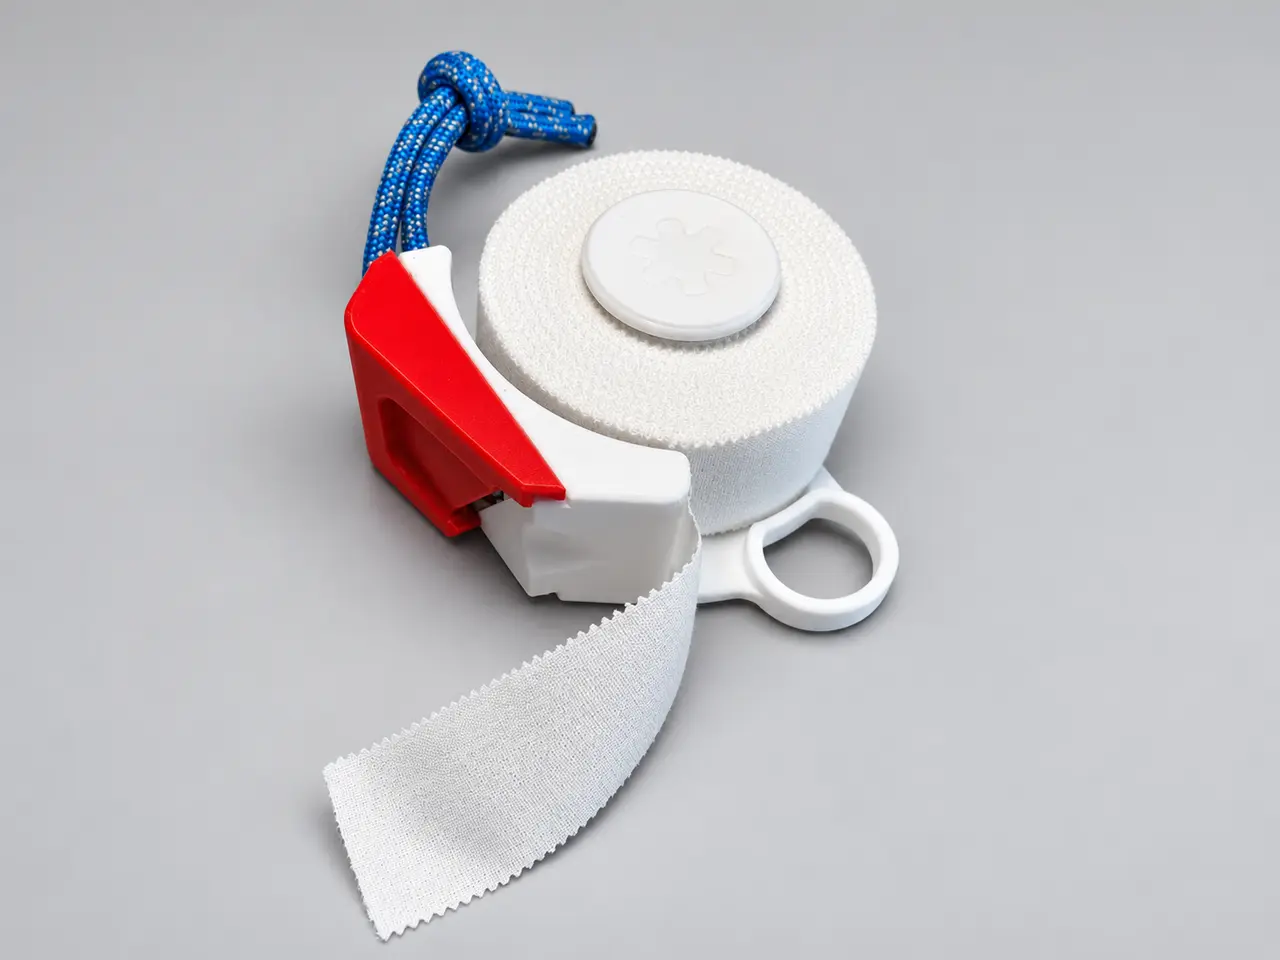
Climbing Tape Dispenser
por OCÚN en Printables
No more struggling or tearing tape with your teeth. Compatible with 25 mm wide tapes.
Licencia
Solo uso personalCC BY-NC-SA 4.0 — Atribución, no comercial, compartir igual
Uso personal dando crédito; sin fines comerciales y las modificaciones con la misma licencia.
Al descargar aceptas respetar la licencia y dar crédito a OCÚN.
Archivos (5)
- Categoría
- Jardín
- Formatos
- STEP, STL, 3MF
- Descargas
- 2
- Publicado
Sobre este modelo
Keep your climbing tape tidy and easy to cut. This compact dispenser helps prevent tangles and twisting, while the integrated blade makes cutting quick and easy—whether you’re at the gym or out on the rock. Use Unroll the desired length of tape. Hold the dispenser in your right hand and the tape in your left. Use your right thumb to push the SLIDER forward and expose the blade. Cut the tape, then slide the SLIDER back to cover the blade.
Compatibility Designed for any 25 mm wide climbing tape with a maximum roll diameter of 65 mm. Printing settings PLA is a good choice for everyday use. Choose PETG for better resistance to heat and impact. - Material: PETG
- Layer height: 0.15 mm
- Infill: 20%
- Supports: No
- Brim: Yes (for both the BODY and SLIDER)
- Perimeters: 3
- Orientation: Print the SCREW with the logo facing down, the BODY with its largest flat surface on the build plate, and the SLIDER with its flat back surface facing down. This allows the V-shaped grooves to print without supports. Follow the 3MF prewiev.
Other materials - 4 mm diameter cord (approx. 10 cm)
- A three-segment section of a standard 18 mm snap-off blade
Assembly - Clean up the printed parts and remove any brim material.
- Fit the blade into the designated slot in the SLIDER. You can use a little glue or double-sided tape to secure it.
- Insert the slider into the V-shaped grooves in the body. Slide it back and forth several times to reduce friction until it moves smoothly. If needed, lightly sand the mating surfaces to adjust the fit.
- Thread the cord through the hole and tie it to prevent the slider from sliding off the body.
- Insert the tape roll with the adhesive side of the tape facing the blade.
- Use the SCREW to secure the tape roll.
Handle the blade carefully during assembly and use. Let’s engineer together! Print it, take it climbing, and let us know how it works for you. Share your makes, feedback, and ideas to help us improve it. Engineered for climbing. Let’s engineer together. *Safety note: This model is an accessory, not personal protective equipment (PPE). Do not use it for belaying or fall protection.
Descripción original del autor, publicada en Printables.