
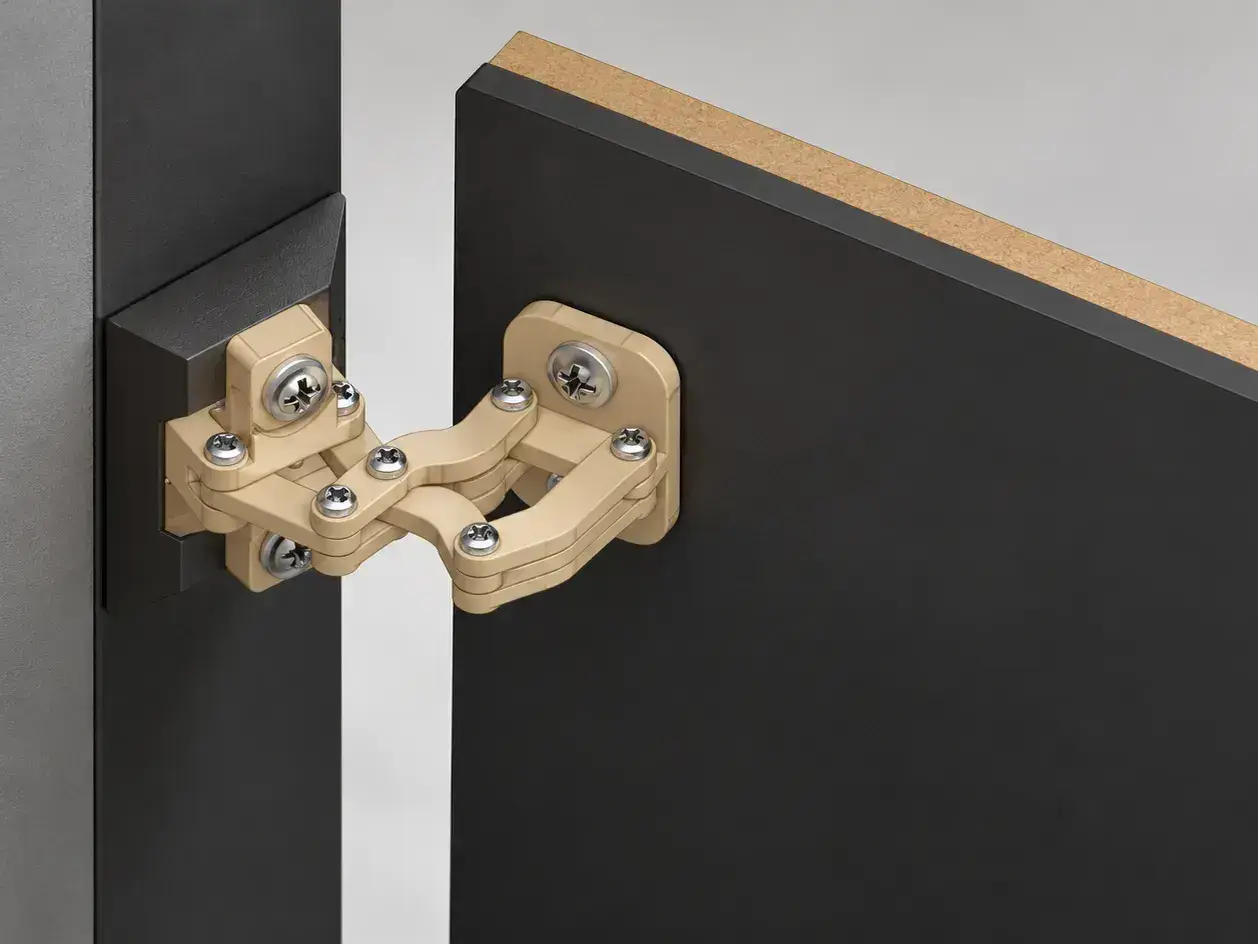
ClearSwing 90 – Concealed Multi-Link Hinge
ClearSwing 90 – Concealed Multi-Link Hinge
Cults3D entrega los archivos a usuarios con cuenta gratuita
Licencia
Solo uso personalLicencia de uso privado de Cults3D: puedes imprimirlo para ti. No se permite compartir el archivo ni vender las impresiones.
Al descargar aceptas respetar la licencia y dar crédito a cuplcompg.
Archivos (1)
- ClearSwing+90+–+Concealed+Multi-Link+Hinge.zip ZIP
- Categoría
- Hogar
- Formatos
- ZIP
- Descargas
- 1
- Publicado
Sobre este modelo
ClearSwing 90 – Concealed Multi-Link Hinge
ClearSwing 90 is a compact, 3D-printable concealed hinge designed to open a door up to 90° while keeping the mechanism hidden behind the panel.
The multi-link mechanism controls the door's movement, helping it clear nearby walls and obstacles during opening.
Features
90° opening angle
Seven pivot points and a six-link mechanism
Compact concealed design
Designed for 3D printing
Suitable for custom cabinets, enclosures, and DIY projects
Required Hardware and Tools
Hardware:
M3 × 10 mm Phillips head screws
M5 × 12 mm Phillips head screws
Tools:
M3 tap No. 1 (first-cut tap)
M5 tap No. 1 (first-cut tap)
3 mm drill bit
Phillips screwdriver
Hole Preparation and Thread Cutting
After printing, some holes may require finishing to ensure proper assembly and smooth movement.
Threaded mounting holes
Use the M3 and M5 taps to cut internal threads in the designated screw-fastening holes.
For standard right-hand threads, turn the tap clockwise to cut the thread in the same direction used to tighten the screws.
Keep the tap aligned with the hole and work slowly to avoid damaging the printed plastic. Reverse it periodically to clear debris. A finishing tap may be needed to complete the threads.
Through-hole calibration
Use the 3 mm drill bit to carefully calibrate the non-threaded M3 through-holes, removing any printing irregularities and ensuring the screws pass through smoothly.
Do not use the 3 mm drill bit to enlarge holes intended for M3 thread cutting.
Pivot joints
Make sure the moving links rotate freely around their pivot points. Avoid overtightening screws that act as pivot shafts.
Assembly
Descripción original del autor, publicada en Cults3D.



