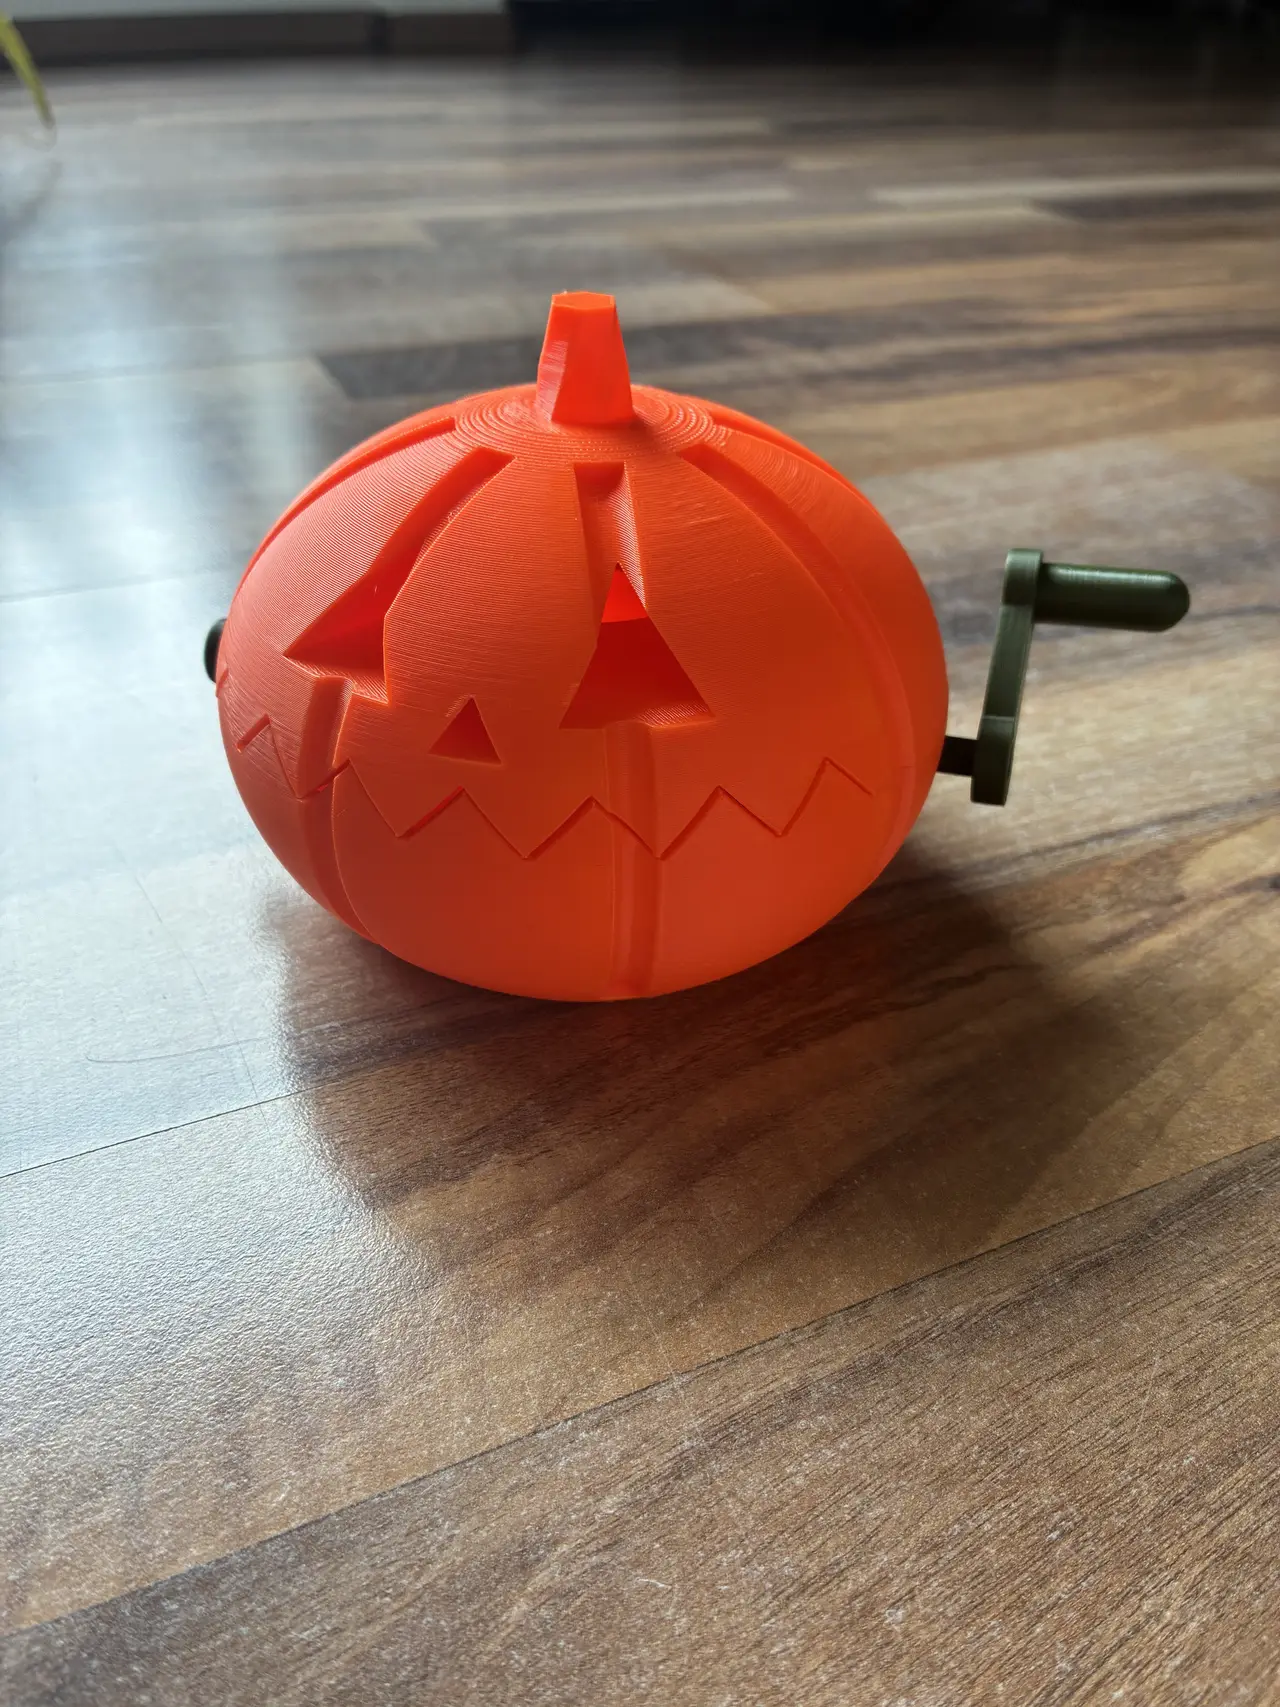
Chomp-o-Lantern
por Oli en Printables
A jack-o'-lantern candy bowl that bites back.
Licencia
Solo uso personalCC BY-NC-ND 4.0 — Atribución, no comercial, sin derivadas
Solo para uso personal, sin modificarlo y dando crédito. No se permite vender ni redistribuir cambios.
Al descargar aceptas respetar la licencia y dar crédito a Oli.
Archivos (7)
- Categoría
- Figuras y arte
- Formatos
- STL
- Descargas
- 15
- Publicado
Sobre este modelo
A jack-o'-lantern candy bowl that bites back. Fill the bowl with candy and put it out for the trick-or-treaters. Turn the crank on the side and the pumpkin slowly opens its mouth. Keep turning, and at the top of the turn it snaps shut with a satisfying CHOMP. Kids love trying to grab a sweet between bites, and grown-ups tend to keep turning it longer than they'd admit.
How it works Inside the pumpkin, a snail-shaped cam sits on the crank shaft. A small rib on the underside of the head rests on that cam. As you turn, the cam's radius grows and pushes the head up around the hinge at the back. Right after the widest point the cam drops back to its smallest radius, the rib loses its support, and the head falls shut under its own weight. A flat section on the cam keeps the mouth closed for a moment before the next bite starts, so each chomp feels like a proper bite and not just a wobble. No springs, no electronics. Gravity does the snapping.
Parts to print Part Qty Print orientation Notes
Base (the bowl with the lower teeth) 1 upright, flat bottom down the biggest print
Lid (the head with face, stem and upper teeth) 1 standing on its mouth line the face cutouts are pointed at the top, so no supports
Cam 1 cam plate down, tube pointing up
Spacer 1 standing on end a plain tube
Shaft 1 lying on its flat side
Crank 1 arm flat, knob pointing up
Cap 1 closed end down
None of the parts need supports. Orange PLA for the pumpkin is the obvious choice. The crank, cap and cam look great in black or purple. 0.2 mm layers and 3 walls are fine everywhere. Give the shaft and crank a bit more infill (30 % or more), because they take the load when you turn. Assembled, the pumpkin is about 116 mm across and 93 mm tall including the stem. With the crank it's about 156 mm wide. What else you need - 1 × M3 × 35 mm screw (any head except countersunk) and 1 × M3 nut. This is the hinge pin. A self-locking (nyloc) nut is best.
- A drop of glue for the crank and the cap (optional, see below).
No screw at hand? A 3 mm steel rod or a straight piece of a 3 mm nail, cut to about 33 mm, works too. Put a dab of glue on each end so it can't wander out. A piece of 2.85 mm filament with both ends melted into little mushroom heads also works. 1.75 mm filament is too thin: the mouth would rattle. Assembly - Hinge: set the head on the bowl so the lugs at the back interlock. Push the M3 screw through all three lugs and put the nut on. Tighten it only until the head no longer wobbles sideways, then back it off a touch. The head has to fall shut on its own, so it must swing freely. Lift the head and let go a few times to check.
- Shaft and cam: lift the head and hold it open. The cam sits off-centre, under the head's rib, with its tube reaching to the bowl wall on the crank side. The spacer fills the gap to the other wall. Hold both in place inside the bowl and slide the shaft through the side hole, the cam tube, the cam, the spacer and out of the opposite hole. The flat on the shaft has to line up with the flats in the cam and the spacer, so turn it a little until it slides through.
- Crank and cap: press the crank onto the shaft end on the cam-tube side, and the cap onto the other end. Both are a snug fit. If either one works loose later, add a drop of glue.
- Close the head so its rib rests on the cam, and give the crank a turn.
Using it - Turn the crank so that the mouth opens slowly and then snaps shut. If it feels like it's pushing against a wall, you're turning it the wrong way round. Just reverse.
- To fill it, lift the head by hand and fold it back. It hinges open. Close it gently again.
- Wrapped candy works best. Loose sweets end up between the teeth sooner or later.
- Don't put a real candle inside. If you want it to glow, an LED tealight in the bowl lights up the eyes nicely, but it will share the space with the candy.
Happy Halloween, and mind your fingers. 🎃
Descripción original del autor, publicada en Printables.