
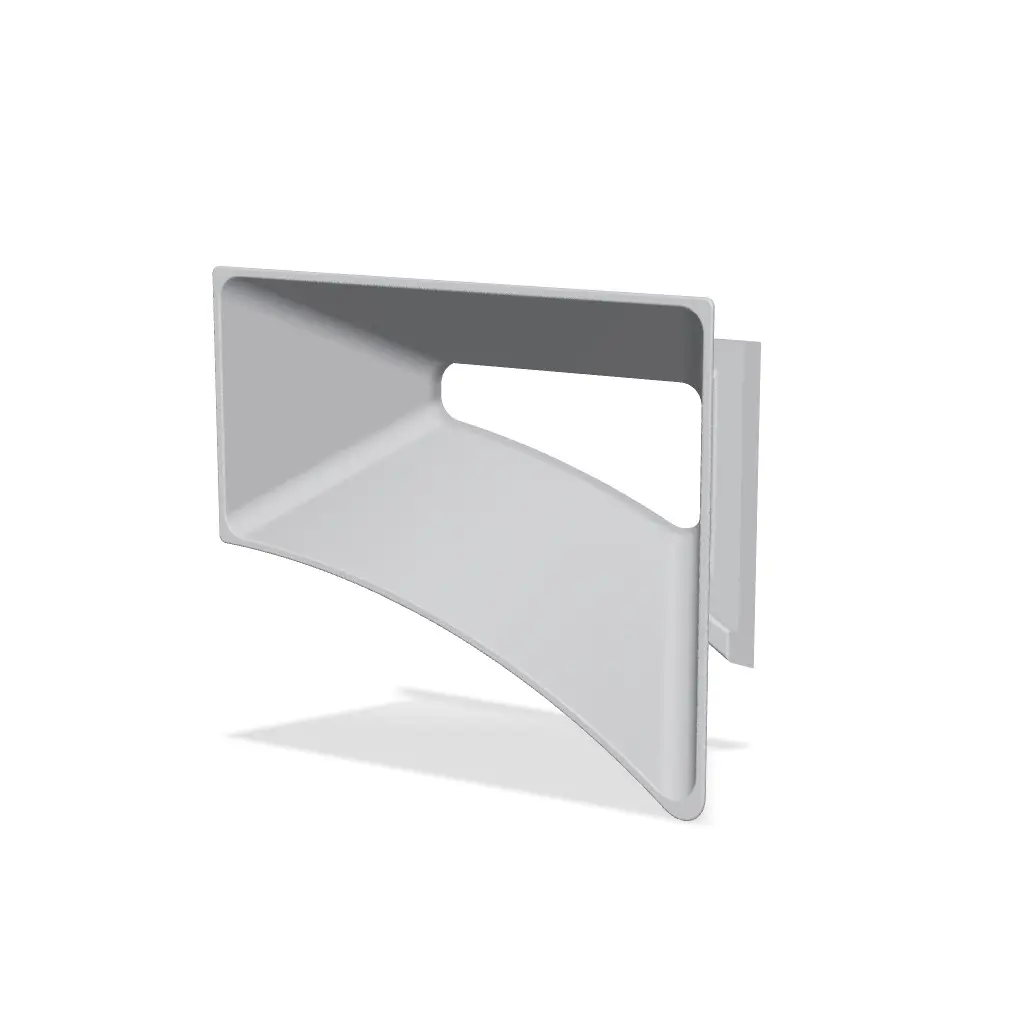
CFS Bottom Desiccant Container
CFS Floor Desiccant Trays
Thangs entrega los archivos a usuarios con cuenta gratuita
Licencia
Solo uso personalCC BY-NC-ND 4.0 — Atribución, no comercial, sin derivadas
Solo para uso personal, sin modificarlo y dando crédito. No se permite vender ni redistribuir cambios.
Al descargar aceptas respetar la licencia y dar crédito a John F.
Archivos (6)
- makerx-cfs-bottom-desiccant-holder.3mf 3MF · 490 KB
- makerx-cfs-bottom-desiccant-holder-container.stl STL · 1,6 MB
- makerx-cfs-bottom-desiccant-holder-funnel.3mf 3MF · 1,2 MB
- makerx-cfs-bottom-desiccant-holder-funnel.stl STL · 4,4 MB
- makerx-cfs-bottom-desiccant-holder-lid.stl STL · 278 KB
- makerx-cfs-bottom-desiccant-holder-instructions.pdf PDF
- Categoría
- Para tu impresora
- Formatos
- 3MF, STL, PDF
- Descargas
- 5
- Publicado
Sobre este modelo
CFS Floor Desiccant Trays
The floor of the Creality CFS has a recessed slot with a rib down the middle, and a tray drops in on either side of it. These are those two trays, sized to fill that bay and to take loose indicating silica you can see, refill and recharge.
Nothing is glued, taped or screwed. There is no hardware anywhere in this model - the trays sit in the recess under their own weight and lift straight out.
WHAT MAKES IT WORK - The Vented Face Is The Top: Each tray sits with a perforated 102 x 51.5 mm face pointing up into the filament chamber, flush with the bay floor. That face is the full footprint of the tray, so air meets the beads across the whole bay rather than through a slot at one end. - It Replaces The Stock Cover Plates: The CFS floor is two cavities, each holding a bagged desiccant packet under its own vented cover plate. Lift those plates out, keep them somewhere safe, and these two trays take their place. The comparison is not trays against nothing - it is the full volume of both cavities, packed with loose beads, against whatever fits in a sachet under a lid. - A Finger Recess To Lift It Out: A scalloped cutaway runs along the top edge of the vented face, at the open end. It is what you seat a tray by and, more to the point, what you get it back out by: the trays sit flush in the bay with nothing proud to grab. - A Dovetail, Not A Snap Fit: The tray is open at one end, and a lid slides into a dovetail across that opening. Nothing clicks, nothing fatigues, and nothing springs open while you are lifting a full tray out of the machine. - Two Lids For The Same Dovetail: A solid lid closes the tray for use, and a funnel lid takes its place for filling. Slide the funnel on, pour, slide it off, slide the solid lid on. No beads down in the bay, which is the failure this part exists to prevent. - One Funnel, However Many Machines: The funnel is not a per-tray part, and it is not even a per-printer part. You print one, ever. It carries the MakerX mark on its side so it does not get filed away with the plain lids. - No Hardware At All: No magnets, no VHB, no screws, nothing to source. That is the difference from the back-shelf holder in this family, which has to hang on a vertical shelf; this one simply sits in a recess.
HOW IT PERFORMED
Measured on my own CFS and read off the machine display.
Two freshly filled trays, an empty chamber and no spools loaded: 41% relative humidity down to 13% in 4 hours 37 minutes, 9% by the following morning, and 8% at the 24-hour mark. Temperature was flat at 27 C through the working day and 26 C overnight.
That is a clean bottom-only measurement - no other desiccant containers anywhere in the machine - so the number is these two trays and nothing else. It falls more slowly than the back-shelf holder in this family, which is what less silica in a more enclosed recess should do, and it was still creeping down overnight rather than leveling off early.
WHAT YOU SUPPLY - Loose indicating silica gel, 3 to 5 mm beads. Mine is an orange indicating gel that is cobalt chloride free: orange when it is ready to work, dark green when it is saturated. The same beads I run in the back-shelf holder.
That is the whole list. There is no hardware in this model, and no silica is included in the download.
TAKE THE BEADS OUT BEFORE YOU RECHARGE THEM
Indicating silica is recharged in an oven at 200 to 250 F, or in a microwave. PLA starts to soften around 140 F, and a filament dryer runs to about 158 F - so a dryer will slump a PLA tray as surely as an oven will. Tip the beads into an oven-safe dish and recharge them there. Never put a printed PLA tray in an oven, a microwave or a filament dryer.
Printed in PETG, that changes. PETG softens around 176 F, above the roughly 158 F ceiling on most filament dryers, so a PETG tray can go into one with the beads still in it and skip the decanting. Check your own dryer's maximum if it runs hotter than 70 C, and treat it as a top-up between real recharges rather than a replacement for one - a dryer never reaches the 200 to 250 F the beads actually want.
PRINT SETTINGS
Two plates, both already set up in the project: - Plate 1: two trays and two solid lids. 4 h 34 m and 53.19 g. This is the plate for one CFS. - Plate 2: one funnel lid. 42 m 35 s and 7.66 g.
Do not add those two together. Plate 1 on its own is what a machine needs, and the funnel is printed once and then used for every CFS you own - so a second machine costs 4 h 34 m and nothing further.
0.12 mm layer height | 4 walls | 5 top and 3 bottom shells | 9% gyroid | 5 mm brim | no supports required
PLA | 220 C nozzle | Epoxy Resin Plate | sliced on a Creality Hi with a 0.4 mm nozzle
THE NUMBERS - Tray: 102 x 51.5 x 39.75 mm: two per machine - Solid lid: 47.75 x 37.45 x 3.2 mm: two per machine - Funnel lid: 61.5 x 54.5 x 27.4 mm: one, ever - One complete CFS: 4 h 34 m and 53.19 g
Single-part files are included for every piece, so you can print one tray and try it before committing to the set.
Descripción original del autor, publicada en Thangs.



