
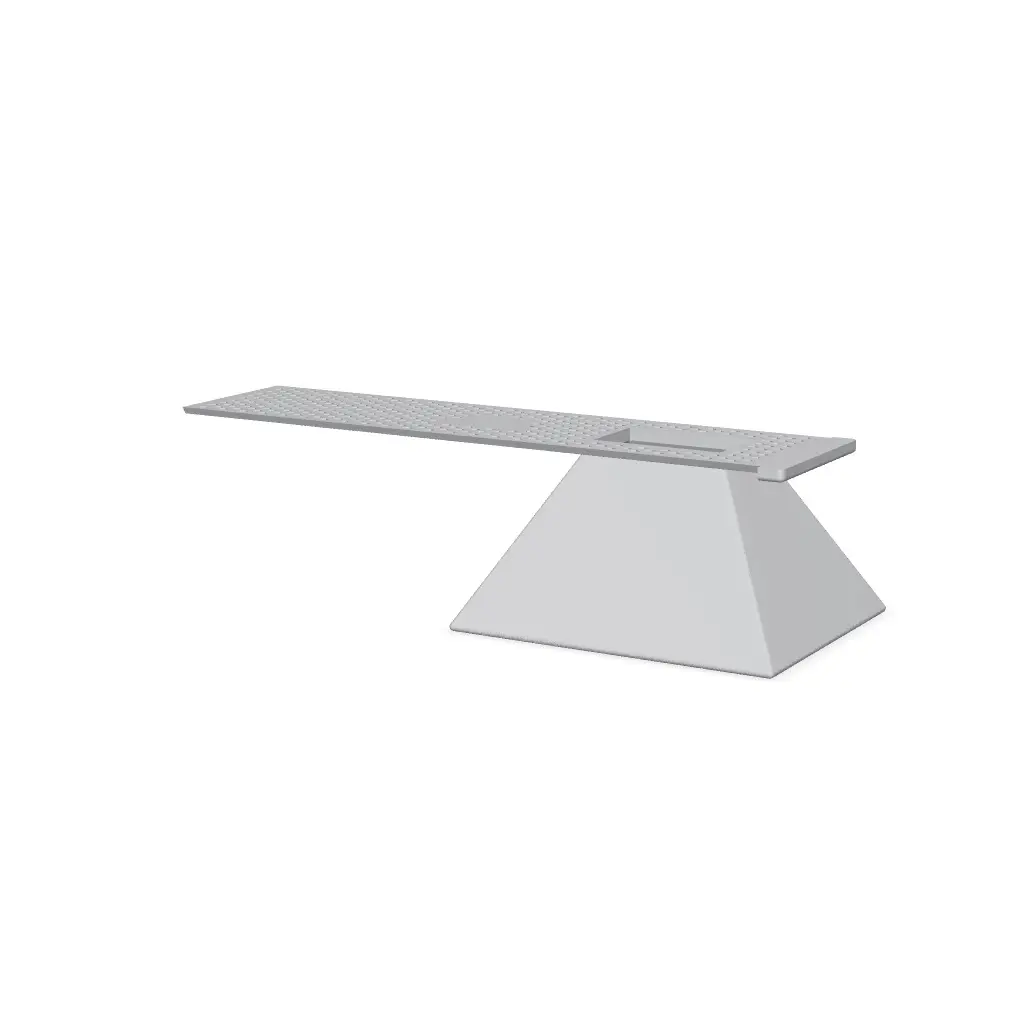
CFS Back Desiccant Holder
CFS Back-Shelf Desiccant Container
Thangs entrega los archivos a usuarios con cuenta gratuita
Licencia
Solo uso personalCC BY-NC-ND 4.0 — Atribución, no comercial, sin derivadas
Solo para uso personal, sin modificarlo y dando crédito. No se permite vender ni redistribuir cambios.
Al descargar aceptas respetar la licencia y dar crédito a John F.
Archivos (12)
- makerx-cfs-back-desiccant-holder.3mf 3MF · 4,0 MB
- makerx-cfs-back-desiccant-holder-base.3mf 3MF · 46 KB
- makerx-cfs-back-desiccant-holder-base.stl STL · 125 KB
- makerx-cfs-back-desiccant-holder-container.3mf 3MF · 714 KB
- makerx-cfs-back-desiccant-holder-container.stl STL · 3,1 MB
- makerx-cfs-back-desiccant-holder-funnel.3mf 3MF · 1,7 MB
- makerx-cfs-back-desiccant-holder-funnel.stl STL · 8,8 MB
- makerx-cfs-back-desiccant-holder-lid.3mf 3MF · 1,6 MB
- makerx-cfs-back-desiccant-holder-lid.stl STL · 8,7 MB
- makerx-cfs-back-desiccant-holder-no-funnel.3mf 3MF · 2,3 MB
- makerx-cfs-back-desiccant-holder-one-half.3mf 3MF · 2,3 MB
- makerx-cfs-back-desiccant-holder-instructions.pdf PDF
- Categoría
- Para tu impresora
- Formatos
- 3MF, STL, PDF
- Descargas
- 7
- Publicado
Sobre este modelo
CFS Back-Shelf Desiccant Container
The Creality CFS keeps its desiccant in two cavities in the floor, under vented cover plates, and leaves a long empty shelf running across the back. This puts that shelf to work: two magnetic trays of loose silica beads sitting directly above the filament bays.
Nothing is glued to the machine and nothing is modified. Two strips of VHB tape hold the base rails, and the trays lift straight out for recharging.
WHAT MAKES IT WORK - Perforated On Every Face: The tray is not a solid box with a vented lid. All four walls are round-hole perforated and the lid is a diamond mesh, so air moves through the whole thing rather than only across the top. - A Dovetail, Not A Snap Fit: The lid slides into a dovetail along the top edge of the tray. Nothing to click shut, nothing to fatigue, and nothing that springs open while you are lifting a full tray out of the machine. - Two Lids, And One Of Them Is For Filling: The funnel lid slides into that same dovetail and has an open throat. Slide it in, pour the beads, slide it out, slide the plain mesh lid in. No beads spilled down into the filament bays, which is the failure this part exists to prevent. - Magnetic, No Screws: A thin base rail takes three 5 x 2 mm magnets and tapes to the shelf. The tray carries three matching magnets underneath and simply drops onto it, landing in the same place every time. - Printed In Halves On Purpose: Each half is 164.5 mm long, so it fits essentially any bed, and a half-length tray can be carried and poured without tipping beads back into the machine. Two of them span the shelf. - Check The Color Without Opening Anything: Orange indicating beads read clearly through the diamond mesh, so a glance tells you whether they still have life in them.
HOW IT PERFORMED
Measured on my own CFS and read off the machine display.
From a 38% starting point the enclosure came down to 5% relative humidity in 96 minutes, with the temperature flat at 27 C throughout. To be exact about what that measures: the desiccant in the floor cavities was recharged in the same session, so it is the whole freshly charged CFS and not these trays in isolation.
The second test is the one I would judge it on. Two rolls on cardboard spools - the wettest spool material there is - went in that evening, after six hours in a filament dryer. Humidity climbed to 18%, a print ran overnight, and the machine read 7% the next morning. It is not a sealed box holding a number; it keeps up while the machine is working.
WHAT YOU SUPPLY - Loose indicating silica gel, 3 to 5 mm beads. Mine is an orange indicating gel that is cobalt chloride free: orange when it is ready to work, dark green when it is saturated. - Twelve 5 x 2 mm disc magnets. Three per base rail and three per tray, two of each per machine. Depending on how your printer holds tolerance you may want a drop of super glue in each pocket. - VHB double-sided tape for the two base rails.
None of that is included in the download.
TAKE THE BEADS OUT BEFORE YOU RECHARGE THEM
Indicating silica is recharged in an oven at 200 to 250 F, or in a microwave. PLA starts to soften around 140 F. Tip the beads into an oven-safe dish and recharge them there. Never put the printed tray in an oven, a microwave or a filament dryer - a dryer runs to about 158 F, which is already past where PLA softens.
PRINT SETTINGS
Two plates, both already set up in the project: - Plate 1: two trays, two lids and two base rails. 18 h 32 m and 133.07 g. - Plate 2: one funnel lid. 2 h 31 m and 28.57 g.
One funnel is enough for a machine, which is why it sits on its own plate. If you are printing a set for a second CFS later, use the no-funnel file and skip it.
0.12 mm layer height | 3 walls | 5 top and 3 bottom shells | 10% gyroid | 5 mm brim | no supports required
PLA | 220 C nozzle | Epoxy Resin Plate | sliced on a Creality Hi 2 with a 0.4 mm nozzle
THE NUMBERS - Tray: 164.5 x 51 x 42.9 mm - Mesh lid: 162.4 x 42.9 x 3 mm - Funnel lid: 166.4 x 43 x 67.2 mm - Base rail: 166 x 30.5 x 7 mm - One complete CFS: 21 h 03 m and 161.64 g
Single-part files are included for every piece, along with a one-half project if you would rather print and try a single tray first.
Descripción original del autor, publicada en Thangs.



