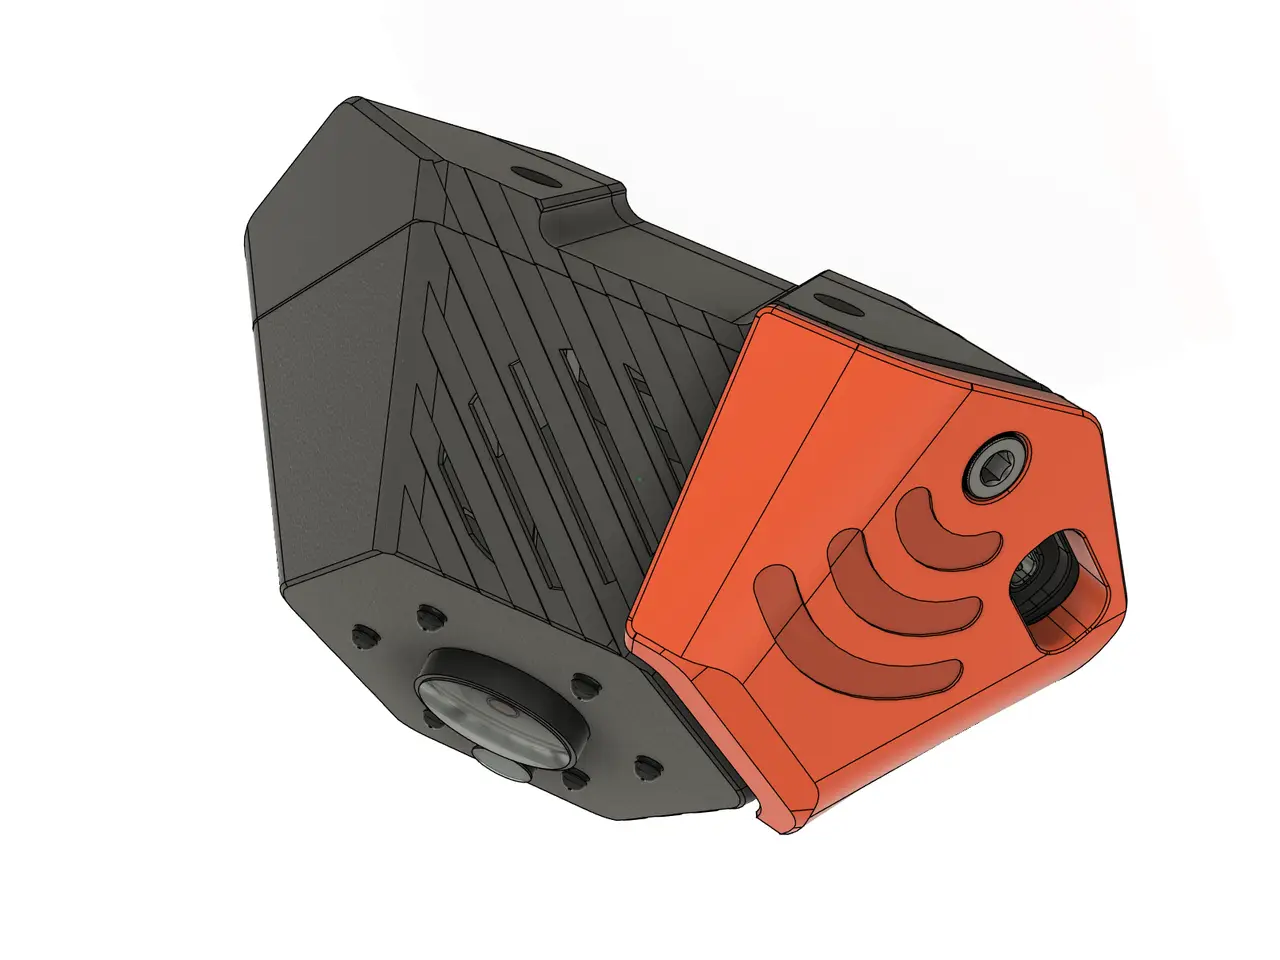
Buddy3D Antenna GUARD (for CORE One, +, L, INDX)
por DET-Man en Printables
Stylish Wi‑Fi antenna guard 👮 for the Prusa CORE One Buddy3D camera 🥰.
Licencia
Uso comercial permitidoPuedes usarlo, modificarlo y venderlo; si distribuyes versiones modificadas deben ir con la misma licencia y sus fuentes.
Al descargar aceptas respetar la licencia y dar crédito a DET-Man.
Archivos (10)
- Antenna Shield - CORE One.stl STL · 578 KB
- Camera Body - Back - CORE One.stl STL · 259 KB
- Camera Body - Back - CORE One - No HSI.stl STL · 259 KB
- Antenna Shield - CORE One L.stl STL · 605 KB
- Camera Body - Back - CORE One L.stl STL · 265 KB
- Camera Body - Back - CORE One L - No HSI.stl STL · 264 KB
- ORIG - Camera Body - Front.stl STL · 431 KB
- ORIG - Camera Body - Lid.stl STL · 126 KB
- Buddy3D Antenna GUARD for CORE One.f3d F3D · 12,2 MB
- Buddy3D Antenna GUARD for CORE One.step STEP · 7,9 MB
- Categoría
- Para tu impresora
- Formatos
- STL, F3D, STEP
- Descargas
- 1,159
- Publicado
Sobre este modelo
The original Buddy3D camera for the 🥰 Prusa CORE One comes with the Wi-Fi antenna freely hanging outside the housing 🫣. This not only makes it look unfinished but also leaves the antenna vulnerable to damage. The flexible part of the antenna can break off easily from the cable (don't ask me how I know), and I have heard that it has happened to others as well 😉. The Buddy3D Antenna GUARD modifies the upper camera housing to add an attachment points for the antenna guard, which holds the antenna secured in a dedicated pocket. The multi-part design allows the guard to be printed from a non-conductive material, such as ASA (and of course in Prusament Orange), while the camera housing is printed from PC-CF. ... and, as usual, the package comes with a bit of style, because that's what your 🥰 CORE One truly deserves, and all the CAD resources you need to make your own custom guard 🤩. 👉 Prusa CORE One L - Vent Collision with non-INDX Top Panel
The top vent opening of the CORE One L interferes with the Buddy3D camera. Thanks to @Kachidoki for fixing the issue with this remix 👍). I adopted the idea and provide dedicated Camera Back and Antenna Shield parts for the CORE One L with the standard top vent. These additional parts are available in the Files section.
Assembly This is a quick and straightforward upgrade. The only slightly fiddly step is removing the magnets from the original upper housing. - The camera module stays in the lower half and does not need to be removed.
- The USB-C board sits fairly loosely in its slot and can easily be removed without disconnecting the cable.
- The antenna cable opening in the printed part is intentionally enlarged to allow a larger bend radius into the antenna pocket. This opening will grip the cable slightly, which is intentional and helps keep it in place.
- Pay attention to the magnet orientation when removing them. Mark them with a pen or similar before taking them out, so you can reinstall them correctly.
- If you are using a third-party replacement antenna with a longer cable, there is plenty of room inside the housing to form a small loop.
- There is also a nice original camera model's assembly guide - check it out!
Print Settings No special print settings are required, and no supports are needed. However, do not print the antenna guard in PC-CF, as its conductivity can interfere with the Wi-Fi signal. ASA or ABS are good alternatives. BOM - M3 x 6mm BHS (1 pcs.)
- Optional: M3 Heat Set Insert (M3x4x5 VORON Spec) (1 pcs.)
- Optional: 10x6x2mm Magnet (instead of removing the ones from the original part) (4 pcs.)
… and a replacement antenna if you are like me. 😉
Descripción original del autor, publicada en Printables.