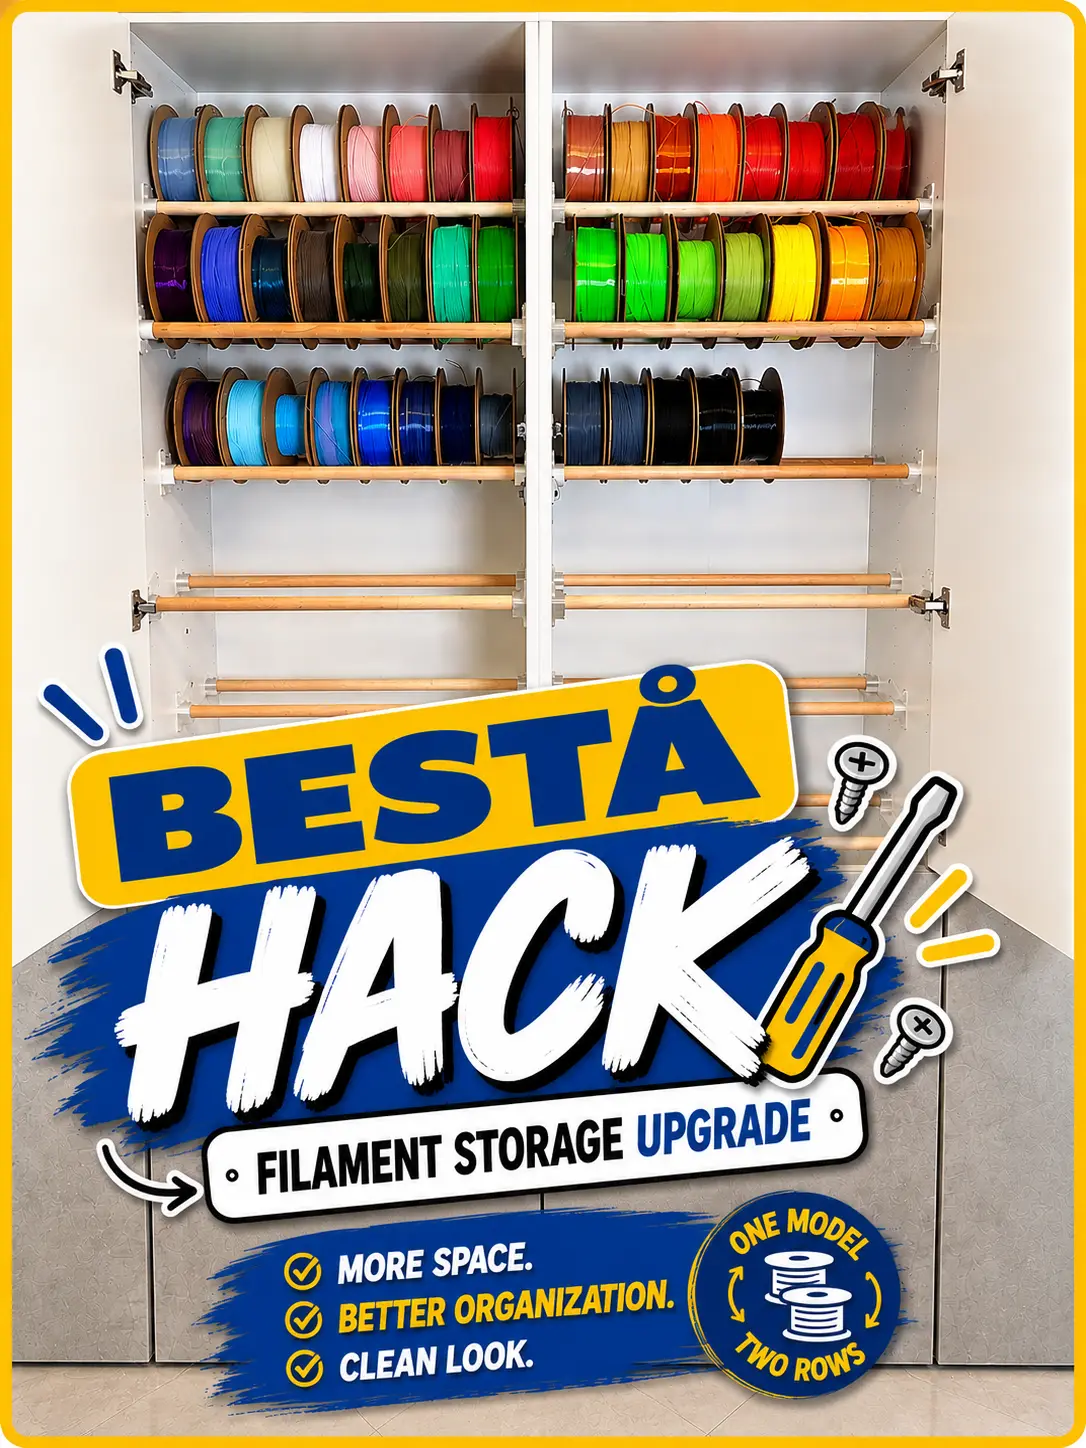
BESTÅ Filament Storage Upgrade
Turn unused space inside your IKEA BESTÅ into a practical storage system for organizing your filament spools. 🧵
Thangs entrega los archivos a usuarios con cuenta gratuita
Licencia
Solo uso personalSin licencia indicada
El autor no indicó una licencia: todos los derechos le pertenecen. Úsalo solo para imprimir en casa y consulta al autor para cualquier otro uso.
Al descargar aceptas respetar la licencia y dar crédito a Angelo v.
Archivos (1)
- supporti besta.3mf 3MF · 119 KB
- Categoría
- Jardín
- Formatos
- 3MF
- Descargas
- 12
- Publicado
Sobre este modelo
Turn unused space inside your IKEA BESTÅ into a practical storage system for organizing your filament spools. 🧵
I designed this upgrade with one simple goal: maximize the available space while keeping the project affordable, easy to print, and simple to build.
🔄 One Model, Two Rows of Filament
The support has been designed so that the exact same model can be used for both the front and rear rows.
Simply change the orientation of the supports during installation to create two staggered rows, allowing the spools to partially overlap in depth and making much better use of the space inside the BESTÅ.
No separate left/right or front/rear versions are required: one printable model is all you need for the entire system.
🪵 Affordable and Easy-to-Find Wooden Rods
For the crossbars, I used standard Ø22.5 mm wooden broom handles.
The ones used in my setup are 1200 mm long and were purchased from Action for approximately €0.90 each.
Each broom handle was cut into:
2 × 562 mm rods
This makes it possible to create two complete crossbars from a single, inexpensive broom handle.
🔩 Screws Used
For my installation, I used:
4.5 × 20 mm screws to secure the printed supports to the cabinet 4 × 16 mm screws to secure the wooden rods to the supports
Before installation, always check that the screw dimensions are suitable for your specific cabinet and panel thickness.
⚠️ Important
This project changes the original intended use of the IKEA BESTÅ and is an unofficial DIY upgrade not affiliated with or endorsed by IKEA.
Before installation, always check the condition of your cabinet, make sure all supports are securely installed, and consider the total weight of the filament spools.
Installation and use of this system are entirely at your own responsibility. Excessive loads or incorrect installation may damage the cabinet or affect its structural stability.
The idea is simple: more filament, less wasted space, and a cleaner, better-organized storage system. 🧵🛠️
If you liked it, FOLLOW me to support me, you can also find me on INSTAGRAM (https://www.instagram.com/3dlabitaly) - YouTube (https://www.youtube.com/@3dLabItaly) - TIK TOK (https://www.tiktok.com/@3dlabitaly)
Descripción original del autor, publicada en Thangs.