Bedtime Tablet Stand
por Allen Van Der Laan en Printables
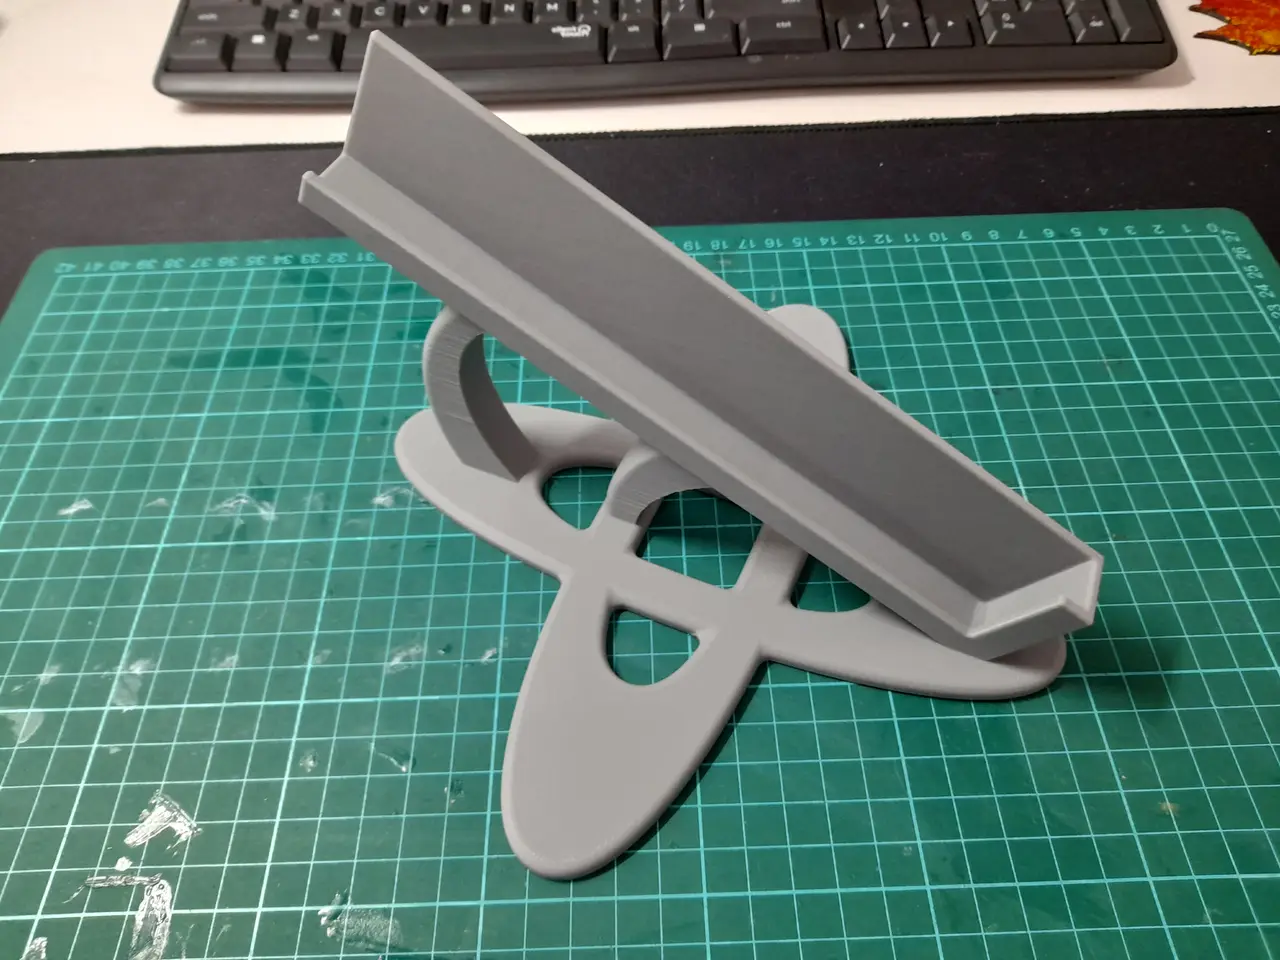
A stand to angle your tablet PC while laying down or in bed
Licencia
Uso comercial permitidoPuedes imprimirlo, modificarlo y venderlo sin pedir permiso ni dar crédito.
Al descargar aceptas respetar la licencia y dar crédito a Allen Van Der Laan.
Archivos (6)
- Categoría
- Tecnología
- Formatos
- 3MF
- Descargas
- 15
- Publicado
Sobre este modelo
I needed one of these (being an insomniac isn't a cool life feature), so I downloaded and printed one out on MakerWorld and found it inadequate. It just kept falling over all of the time as soon as I moved. So with necessity being the mother of invention I designed this one with a larger footprint, and two months later of nightly usage, it's still working without any issues. There are three versions available, in left and right side laying configuration: Straight edge Chamfer edge Fillet edge
I also made them all with an internal channel for 8, 10, 12, 14, and 16mm tablet widths.
I toyed with the idea of making one that can change angles if you decide to roll over and lay on your other side, but I came to the conclusion that it would take a lot of effort, filament, prototyping, and time. The other reason I never pursued the idea was that if you have the tablet on the edge of the bed and fell asleep, your tablet would most likely not survive the fall to the floor if it fell off during the night. To me it made sense to err on the side of caution and keep the tablet in the centre of the bed where it would remain safe. If you don't use a tablet case or protector of any kind, you may want to consider printing a slightly larger than required width, then lining the channel with some sort of adhesive backed foam or rubber strip to prevent scratches. Likes are greatly appreciated, but this is another upload that I don't care what you do with it. Remix it, sell it, give it away, I don't care. Just have fun with it, and enjoy.
There are three different profiles for printing this stand out.
Straight is very basic, for just a simple stand to do the job. MAIN: 0.2mm Standard / 0.4mm Nozzle / 0.2mm Layer Height QUALITY: Arachne Walls & Outer-Inner Order / 3 Wall Loops STRENGTH: 3 Top & Bottom Shell Layers / 15% Gyroid Infill OTHER: No Supports / No Brim Chamfer has more edge smoothing settings, for a better looking edge with minimal stepping. MAIN: 0.2mm Standard / 0.4mm Nozzle / 0.16mm Layer Height QUALITY: Arachne Walls & Outer-Inner Order / 3 Wall Loops STRENGTH: 3 Top & Bottom Shell Layers / 15% Gyroid Infill OTHER: No Supports / No Brim Fillet has even more edge smoothing settings, for an amazing looking edge with miniscule stepping. MAIN: 0.2mm Standard / 0.4mm Nozzle / 0.2mm Layer Height QUALITY: Arachne Walls & Outer-Inner Order / 3 Wall Loops STRENGTH: 3 Top & Bottom Shell Layers / 15% Gyroid Infill OTHER: Variable Layer Height / No Supports / No Brim
The average amount of filament required is around 100g, and this varies depending on the channel width required.
The settings provided above are a culmination of results through several prototype prints, and what I found to work the best for every version available. If you want to get fancy turn top surface ironing on, this will give the top of the base a nice and smooth surface finish. I didn't include ironing in the profile due to the many differences with machines and filament, and there's always some peanut willing to give you a poor rating for their own shortcomings or incompetence. This is a real kick in the teeth for the amount of time and money spent to bring this to you for free.
I did design this stand so that it can be printed with no support required. Out of the prototyped prints I made to dial this in, I never encountered a single failure. Having a cryo plate helps a lot with bed adhesion so I was unable to verify if this particular print would lift on a standard plate. Please keep this fact in mind before sending to print. You can of course adjust these settings to your desire with no major change in quality. You may also need to adjust settings to suit your machine's specifications.
I used a P2S with a Biqu Cryogenic build plate, and SLIC3D PLA filament.
Descripción original del autor, publicada en Printables.