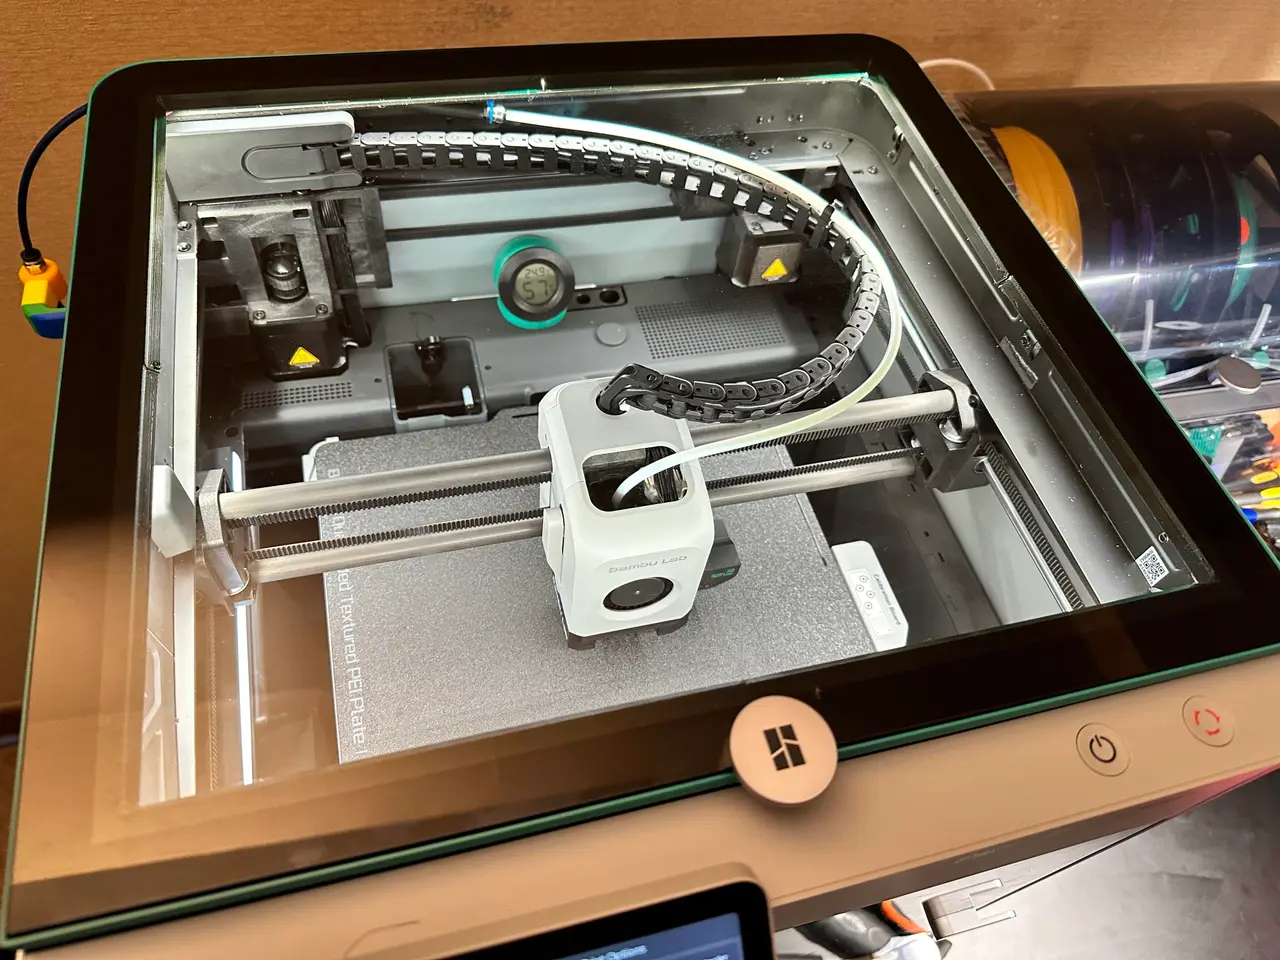
BambuLab Top Glass Riser 4 COB LED Remix with LED Shield
por dkarjadi en Printables
For people who wants more light in their X1C without the Glare from the LED when looking through the top glass.
Licencia
Uso comercial permitidoPuedes imprimirlo, modificarlo y venderlo dando crédito al autor.
Al descargar aceptas respetar la licencia y dar crédito a dkarjadi.
Archivos (20)
- Left Back NEW.stl STL · 50 KB
- Right Back NEW.stl STL · 52 KB
- Front Left New.stl STL · 25 KB
- Front Right NEW.stl STL · 25 KB
- BackLeft TPU.stl STL · 12 KB
- BackRight TPU.stl STL · 12 KB
- FrontLeft TPU.stl STL · 11 KB
- FrontRight TPU.stl STL · 11 KB
- TPU PLUG.stl STL · 46 KB
- BambuLab Top Glass Riser 34 LED Remix (ALL).step STEP · 419 KB
- Front Right.step STEP · 63 KB
- Front Left.step STEP · 63 KB
- Back Right.step STEP · 69 KB
- Back Right with Hole.step STEP · 78 KB
- Back Left.step STEP · 79 KB
- TPU Front Left.step STEP · 44 KB
- TPU Front Right.step STEP · 44 KB
- TPU Back Left.step STEP · 32 KB
- TPU Back Right.step STEP · 32 KB
- LED Riser Remix v9 TPU Plug.step STEP · 15 KB
- Categoría
- Para tu impresora
- Formatos
- STL, STEP
- Descargas
- 12,130
- Publicado
Sobre este modelo
UPDATE Sep 24 2023 Before you download and print this, I made a new version with VENT Holes, check it out > DK Riser
And another version of a low profile riser >> DK Riser Low Profile
A Remix of Daniel's Bambu Labs Carbon X1 Top Glass Riser for LED's
A few modifications: 1. I angled the LED 60 degrees from vertical, so they are aimed down towards the build plate 2. added TPU “bed” for the Top Glass to sit on… 3. Added a Lip / Light Shield to the TPU Bed, this is to shield light leaks which can bother you when you are looking into the chamber from the TOP 4. make the cable hole cut all the way down, so we can just slide the cable, instead of having to feed the cable thru the hole.
8 part Step files 4 for the riser, and 4 for the TPUs
I use this COB LED Strip > Amazon Link that doesn't come with the power supply, so make sure pick one up > Link We have to cut the strip into 4 pieces (because bending the LED Strip for the corner is too tight) then we have to do a bit of soldering.
The 8 parts may discourage some, originally I was going to make the base and shield into 1 piece, but it is going to make installing the LED much more difficult…
The overhang is pretty steep (60 degrees) I use the order of (Infill/Inner/Outer) and infill/wall overlap of 50% (and it turned out fine)
Update 01/19/23 Some users wants the cable holes on the right instead of left. I added a new Back Right Step file with hole for the cable and 1 TPU Plug to plug which ever hole not being used (left or right) Update 01/29/23 Added the STL files if you want to print on non-bambu printer/other slicer
Update 03/20/23 On my second X1C I use this COB LED instead, it comes with power supply, and a remote control >> amazon link On my 2nd and 3rd X1C, I did not cut the strips into 4 pieces and Solder them, because if you are like me (not well experienced in soldering) you can easily damage the small metal tabs when you need to solder…. so I just force bend the corners, it will be awkward the way we need to follow the angle… but with some effort it can be done…
If you have a BIG printer, MandicReally remixed this into a 1 piece design check it out!
Hope you'll find it useful :)
Thanks!
Descripción original del autor, publicada en Printables.