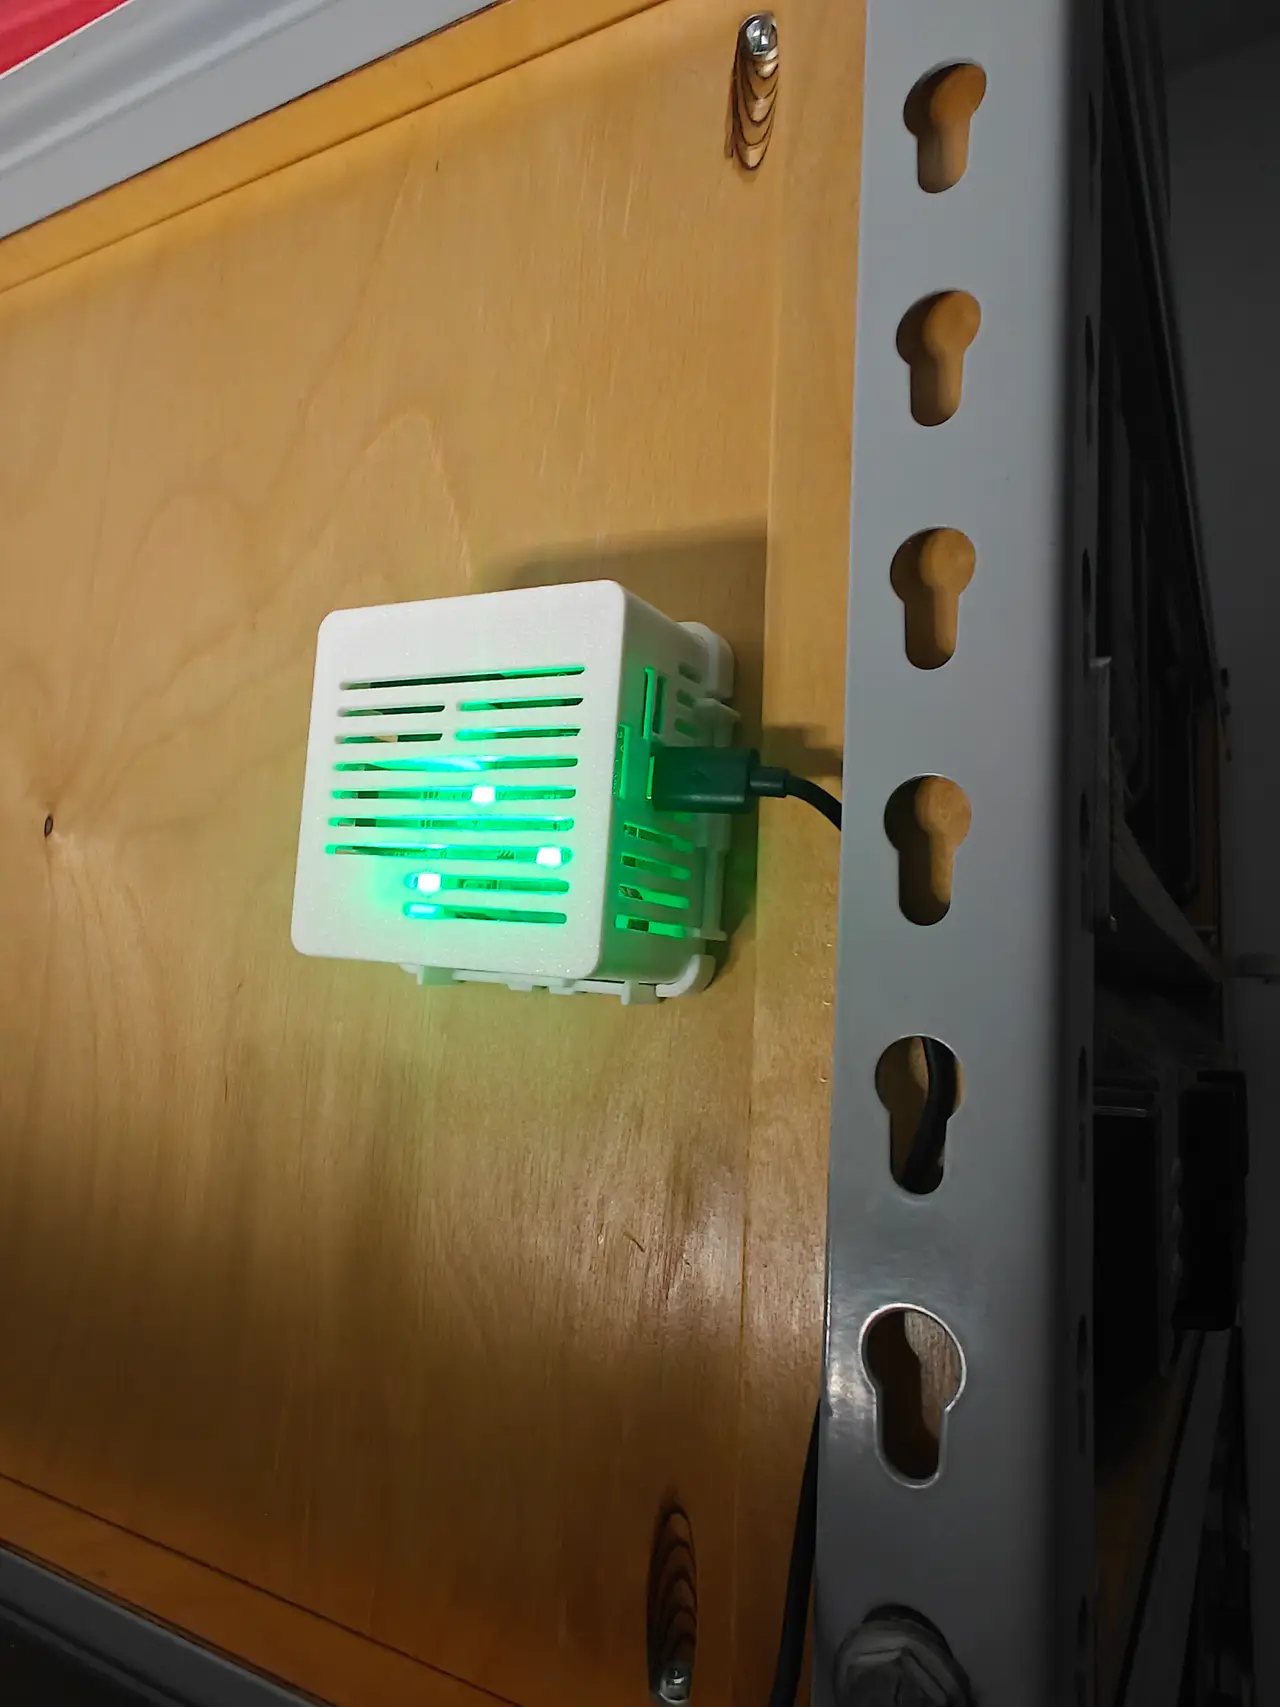
Apollo AIR-1 Case Mount – Solid Base with Hidden Screws & Snap-On Clips
por Dythe en Printables
A solid screw-down mounting base for the Apollo Automation AIR-1 air quality sensor case. Screw the plate to a wall, she
Licencia
Solo uso personalCC BY-NC 4.0 — Atribución, no comercial
Puedes imprimirlo y modificarlo para uso personal dando crédito. No se permite vender las impresiones.
Al descargar aceptas respetar la licencia y dar crédito a Dythe.
Archivos (2)
- Categoría
- Tecnología
- Formatos
- STL, 3MF
- Descargas
- 0
- Publicado
Sobre este modelo
What is it? A mounting plate for the AIR-1 air quality sensor case from Apollo Automation. The plate is solid, and its four countersunk screw holes sit inside the footprint of the case, so they are completely hidden once the case is clipped on. You screw the plate down first, then snap the case onto it. What it is used for - Mounting the AIR-1 on a wall, shelf, cabinet, desk or under a stand.
- A clean look with no visible screws.
- Making the sensor removable: pull it off for servicing or flashing, and snap it back on.
Features - Fully solid base plate, 4 mm thick.
- 4 countersunk screw holes, hidden under the case (screws at ±22 mm from the centre, hole 5 mm, head 10 mm).
- 6 snap-fit hooks that grip the outside of the case. Each barb enters a vent slot in the side wall and locks under the solid wall below it.
- The hooks use only the lowest part of 6 slots, so the grill and airflow stay open.
- Low guide rim (3.5 mm) that sits below the vents, with a cut-out at the port side.
- Left/right symmetric hook layout.
- Printable without supports. The spring arms lie flat in the bed plane, which makes them strong.
Fit and compatibility - Designed from the geometry of the AIR-1 case STL (62 × 62 mm footprint, 4 mm corner radius).
- This is an unofficial, third-party accessory and is not affiliated with Apollo Automation.
Assembly - Print the plate flat on the bed with the posts pointing up.
- Screw the plate down through the four countersunk holes (about M4 or #8 screws).
- Press the case straight down onto the plate until the hooks click into the slots.
- To remove it, pull the case straight up with firm, even force.
Recommended PLA print settings Setting Value
Orientation Plate flat on the bed, posts up
Supports None
Nozzle / layer height 0.4 mm / 0.16–0.2 mm
Walls (perimeters) 4 or more (about 1.6 mm), thin-wall detection / Arachne ON
Top / bottom layers 5 or more
Infill 15%
Adhesion No brim needed, or a small 3 mm brim
PLA note: the spring arms flex about 2 mm when the case is pushed on, and PLA is more brittle than PETG. If an arm cracks, use PETG.
Descripción original del autor, publicada en Printables.