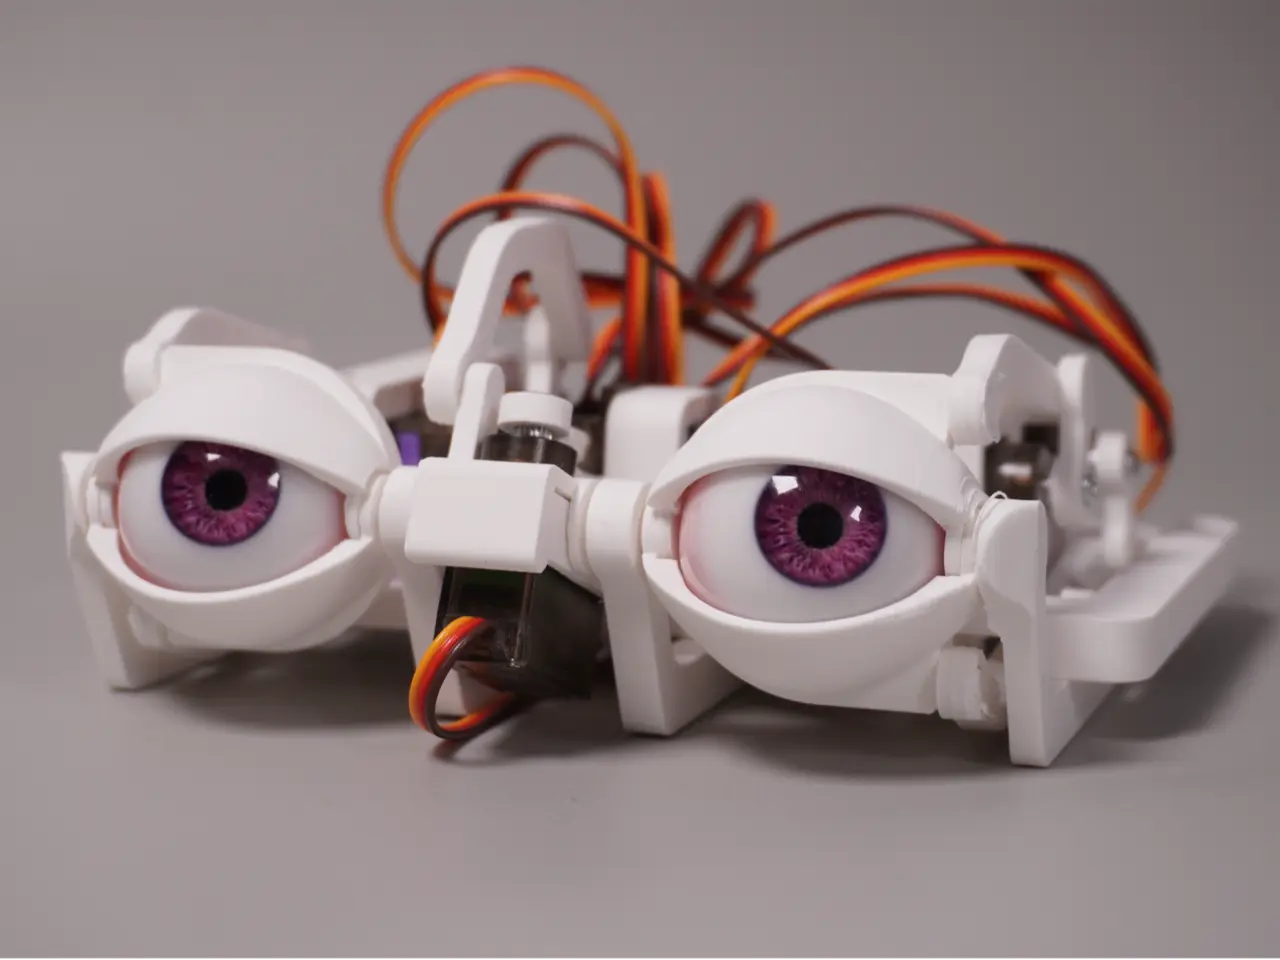
Animatronic Eye Mechanism ε3.2
por Will Cogley en MakerWorld
The design can be entirely 3D printed and can use hobby electronics components. However I would recommend using Will Cogley’s animatronic compatible eyes and the dedicated EyeMech controller board available for purchase through https://nmrobots.com/
MakerWorld entrega los archivos a usuarios con cuenta gratuita
Licencia
Solo uso personalStandard Digital File License
Licencia estándar de archivos digitales: solo uso personal. No se permite compartir, revender ni subir el archivo a otros sitios, ni vender las impresiones.
Al descargar aceptas respetar la licencia y dar crédito a Will Cogley.
Archivos (1)
- EyeMech ε3.2 All Plates - BambuStudio.3mf 3MF · 5,4 MB
- Categoría
- Educación
- Formatos
- 3MF
- Descargas
- 4,376
- Publicado
Sobre este modelo
The design can be entirely 3D printed and can use hobby electronics components. However I would recommend using Will Cogley’s animatronic compatible eyes and the dedicated EyeMech controller board available for purchase through https://nmrobots.com/ Skills The assembly is relatively easy and suitable for experienced beginners in the world of 3D printing and electronics. Some dexterity is required to assemble the small parts, and it may be tricky to remove some of the supports. Parts The following parts are recommended:
- 6x Micro servos, choose either: - SG90 - Low-cost, easy to find, but weaker and slower
- MG90s - A great middle-ground between cost and power
- Note that several other types of servo with similar form factors may also be compatible with the mechanisms, but not all have been tested at this time
- 2x Realistic Eyeballs, choose either: - Realistic Eyes
- Ultra Realistic Eyes
- Homemade 3D printed eyes
- 1x Eye Mechanism Controller Board
- Optional: 1x Handheld Controller Board
On a tighter budget or if you’d just prefer to use more standard parts, you can use a Raspberry Pi Pico with a breadboard, jumper cables and a two-way switch instead, but note that the system may be less reliable than the purpose-made board. Assembly
Descripción original del autor, publicada en MakerWorld.