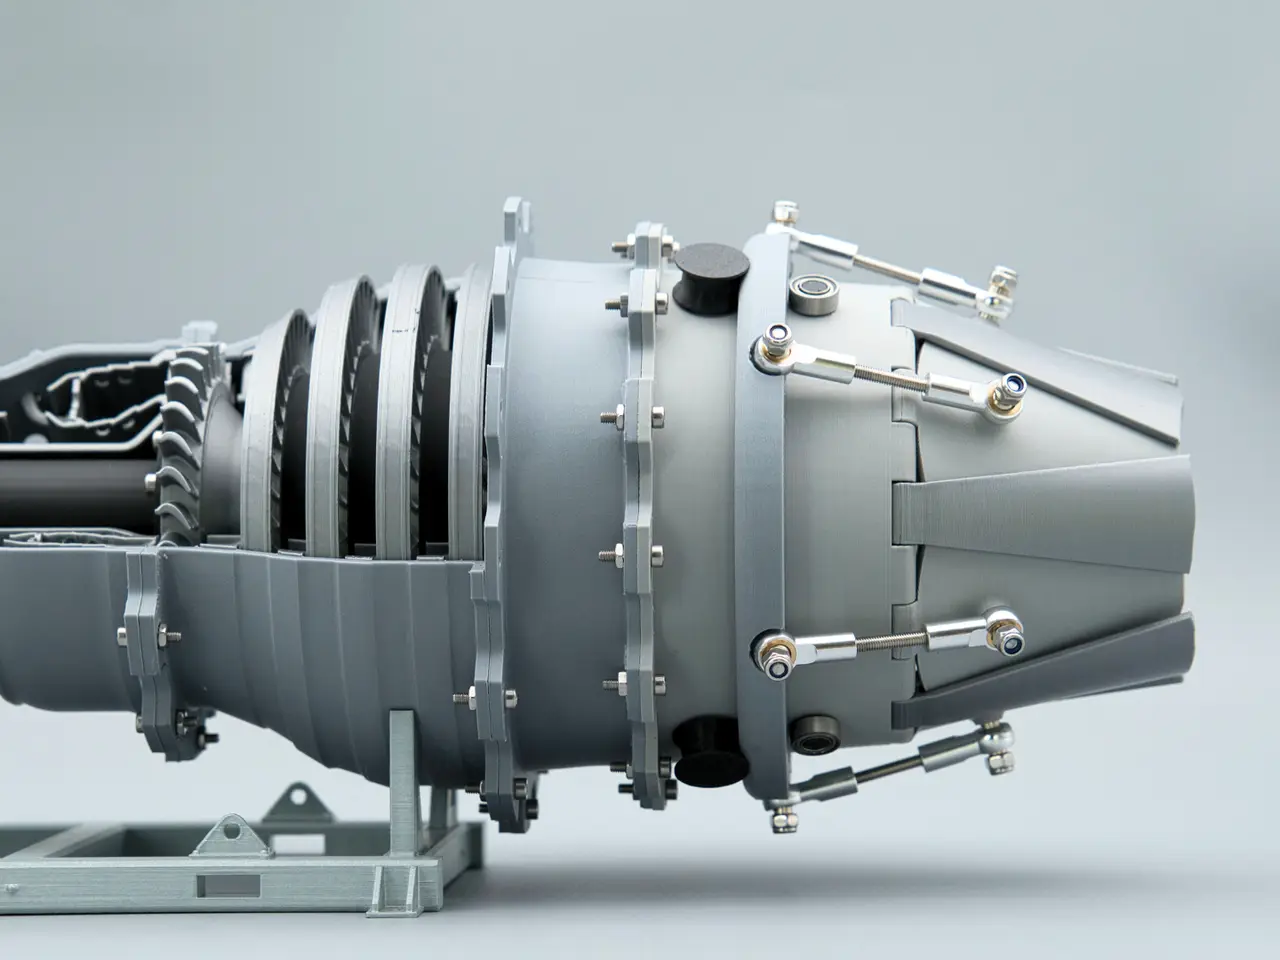
Afterburner & Variable Nozzle
por Linus3d en MakerWorld
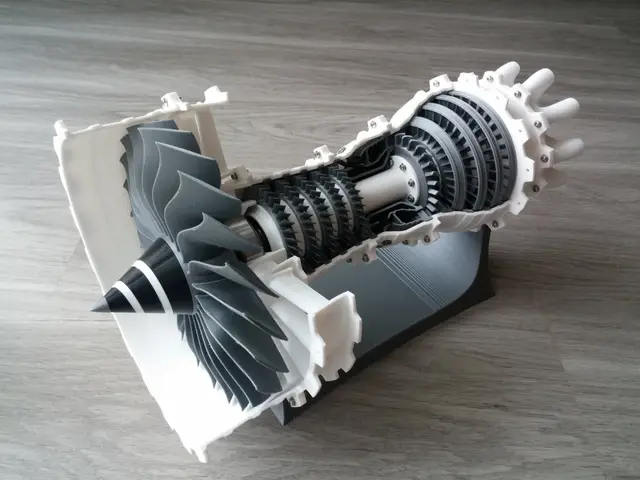
The 3D Printable Jet Engine is great! However, I wanted a turbojet or low bypass turbofan to complement the original. So, I got to work designing the turbojet, afterburner and variable exhaust nozzle.
MakerWorld entrega los archivos a usuarios con cuenta gratuita
Licencia
Solo uso personalCC BY-NC-SA 4.0 — Atribución, no comercial, compartir igual
Uso personal dando crédito; sin fines comerciales y las modificaciones con la misma licencia.
Al descargar aceptas respetar la licencia y dar crédito a Linus3d.
Archivos (10)
- Jet Pipe.stl STL · 1,1 MB
- Corrugated_Liner.stl STL · 7,6 MB
- Control_Ring.stl STL · 658 KB
- Primary_Petal.stl STL · 585 KB
- Secondary_Petal.stl STL · 356 KB
- Secondary_Petal_Pin.stl STL · 423 KB
- Bearing_Roller.stl STL · 1,1 MB
- Bearing_Pin.stl STL · 101 KB
- Flame_Holder.stl STL · 8,7 MB
- Large_Flameholder.stl STL · 2,7 MB
- Categoría
- Educación
- Formatos
- STL
- Descargas
- 5,007
- Publicado
Sobre este modelo
The 3D Printable Jet Engine is great! However, I wanted a turbojet or low bypass turbofan to complement the original. So, I got to work designing the turbojet, afterburner and variable exhaust nozzle.
For this build you'll need additional hardware. It adds afterburner and nozzle, making the model longer. The design philosophy matches the turbofan, with hints of the GE J79 visible in the liner and flame holders.
I designed a stand. Making the jet sit low to the ground. It works great!
Instructions & Hardware Written and video instructions are available below. I recommend having a look into both. My print profile uses three colors and 0.16mm layers for smoother hinges.
For easy hardware sourcing, you can order Hardware Kits on my website.
Go check out the Turbojet engine!
Get notified about new project releases here. Happy printing and great success! Message me with any questions :)
Boost MeYour support keeps me going! Thanks ⚡ Required Components
- M3 Nyloc Nut 12x
- M3 12mm Bolt12x
- M3 25-30mm threaded Rod 6x
- MR105 bearing 6x
- M3 Tie Rod End 12x
- 270mm 1.75mm Filament 1x
Tools used for assembly:
- M2 & M2.5 Screwdriver
- Pliers or anything that can hold nuts
- Plastic Glue
Assembly
Only glue on the bottom three pins for now. Use plastic glue.
This is a press fit. Don't use glue.
Again a press fit. Don't use glue.
Screw the tie rods onto both sides of the threaded rods.
Use six Nyloc Nuts to fixate the rods onto the control ring. Make it tight. Make sure you don't deform the plastic too much.
Use the 270mm filament as a hinge for the primary and secondary petals.
On the main body, feed the filament through the hinge with the larger hole.
Start by adding a primary petal. Then alternate ending with the secondary petal with the knob on it.
Push the filament all the way into the larger hole using your screwdriver. Now attach the secondary petal. Make sure everything moves freely.
For visual explanation go watch my video.
Easy…
Descripción original del autor, publicada en MakerWorld.