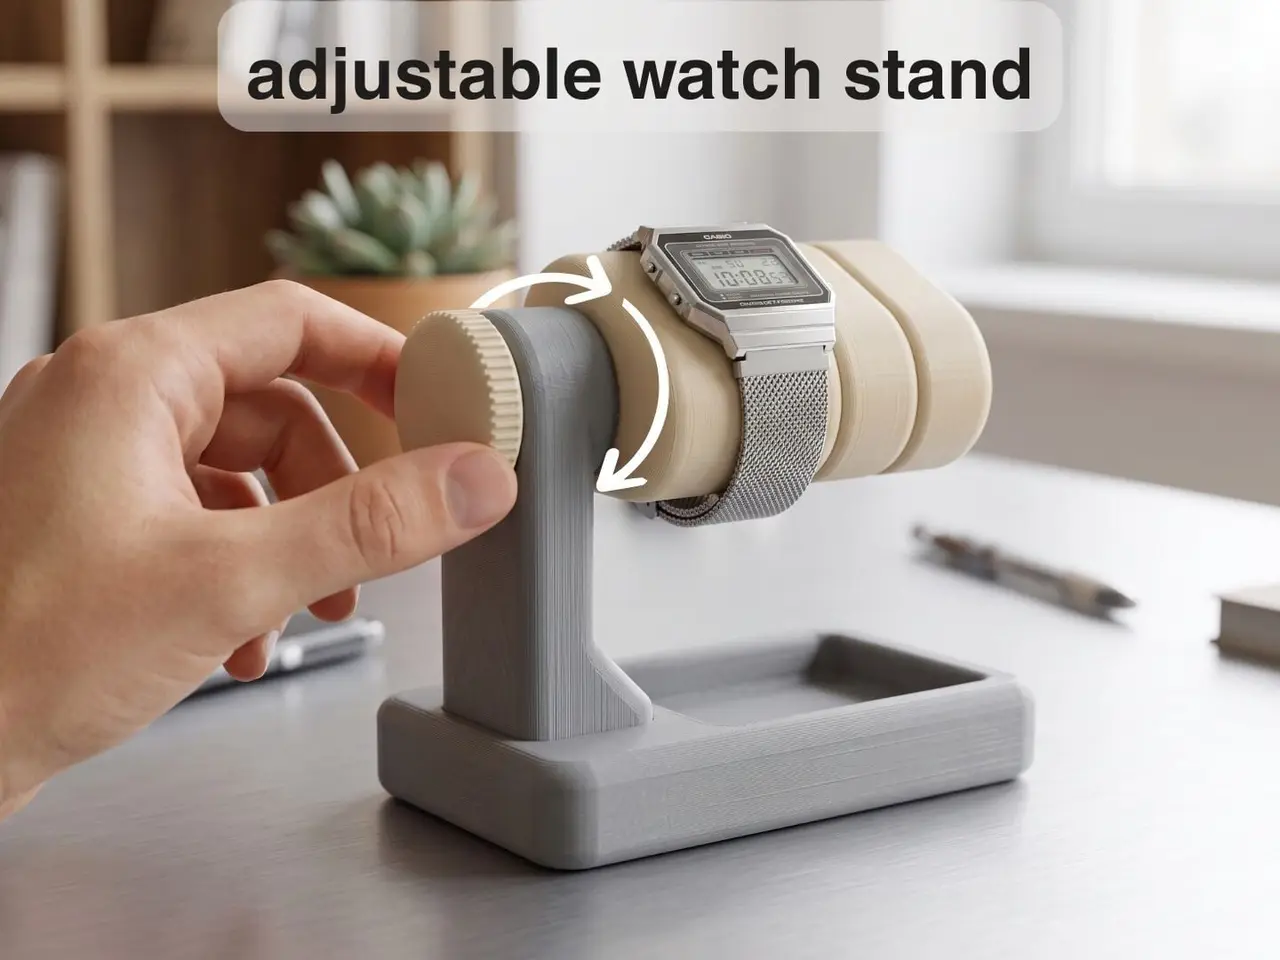
Adjustable Watch Stand/Holder [no supports/no AMS]
por Yuen en Thingiverse
A watch stand with an adjustable display angle! By twisting the knob, you can adjust the display angle by 22.5-degree increments to suit your preferences. It can hold up to 2 watches. Glue is all you need to assemble the watch stand. No supports are required for printing. The optimum print...
Licencia
Solo uso personalCC BY-NC-SA 4.0 — Atribución, no comercial, compartir igual
Uso personal dando crédito; sin fines comerciales y las modificaciones con la misma licencia.
Al descargar aceptas respetar la licencia y dar crédito a Yuen.
Archivos (9)
- Categoría
- Organización
- Formatos
- STL
- Descargas
- 217
- Publicado
Sobre este modelo
A watch stand with an adjustable display angle! By twisting the knob, you can adjust the display angle by 22.5-degree increments to suit your preferences. It can hold up to 2 watches. Glue is all you need to assemble the watch stand. No supports are required for printing. The optimum print orientations are shown in the 2nd image. Print with at least 3 walls for strength. Print 3 pieces of Clip. For everything else, print 1 piece. Overall size is 15 x 8 x 11 cm (5.9 x 3.1 x 4.3 in). For the G-Shock lovers out there, I also made a G-Shock version of this watch holder! Check it out here. Assembly steps (please refer to images above): 1a. Join Drum Right and Drum Left using 2 pieces of Clips as shown. They should snap together nicely, so no glue is necessary for this. 1b. Connect Gear to the shaft of Drum Right as shown, with the Gear teeth facing the shaft. Apply some glue to the 2 protruding tabs of the shaft before sliding the shaft all the way into Gear. 1c. Connect the other side of Gear to Knob as shown. Apply some glue to the end face of Gear before sliding it into Knob. Do not use glue for all of Step 2 2a. Insert Clip and Spring into Pillar Right as shown. Clip will securely snap into place, while Spring will sit loosely in the pocket inside Pillar Right. 2b. Place the Drum assembly (from Step 1) into the cylindrical channel in Pillar Right as shown. Make sure Spring sits right underneath teeth of Gear as shown. 2c. Join Pillar Left to Pillar Right together as shown. They should snap together nicely, so no glue is necessary for this. 3a. Snap the bottom of Pillar assembly (from Step 2) to the hole in Base as shown. They should snap together nicely, so no glue is necessary for this. end of instructions
Descripción original del autor, publicada en Thingiverse.