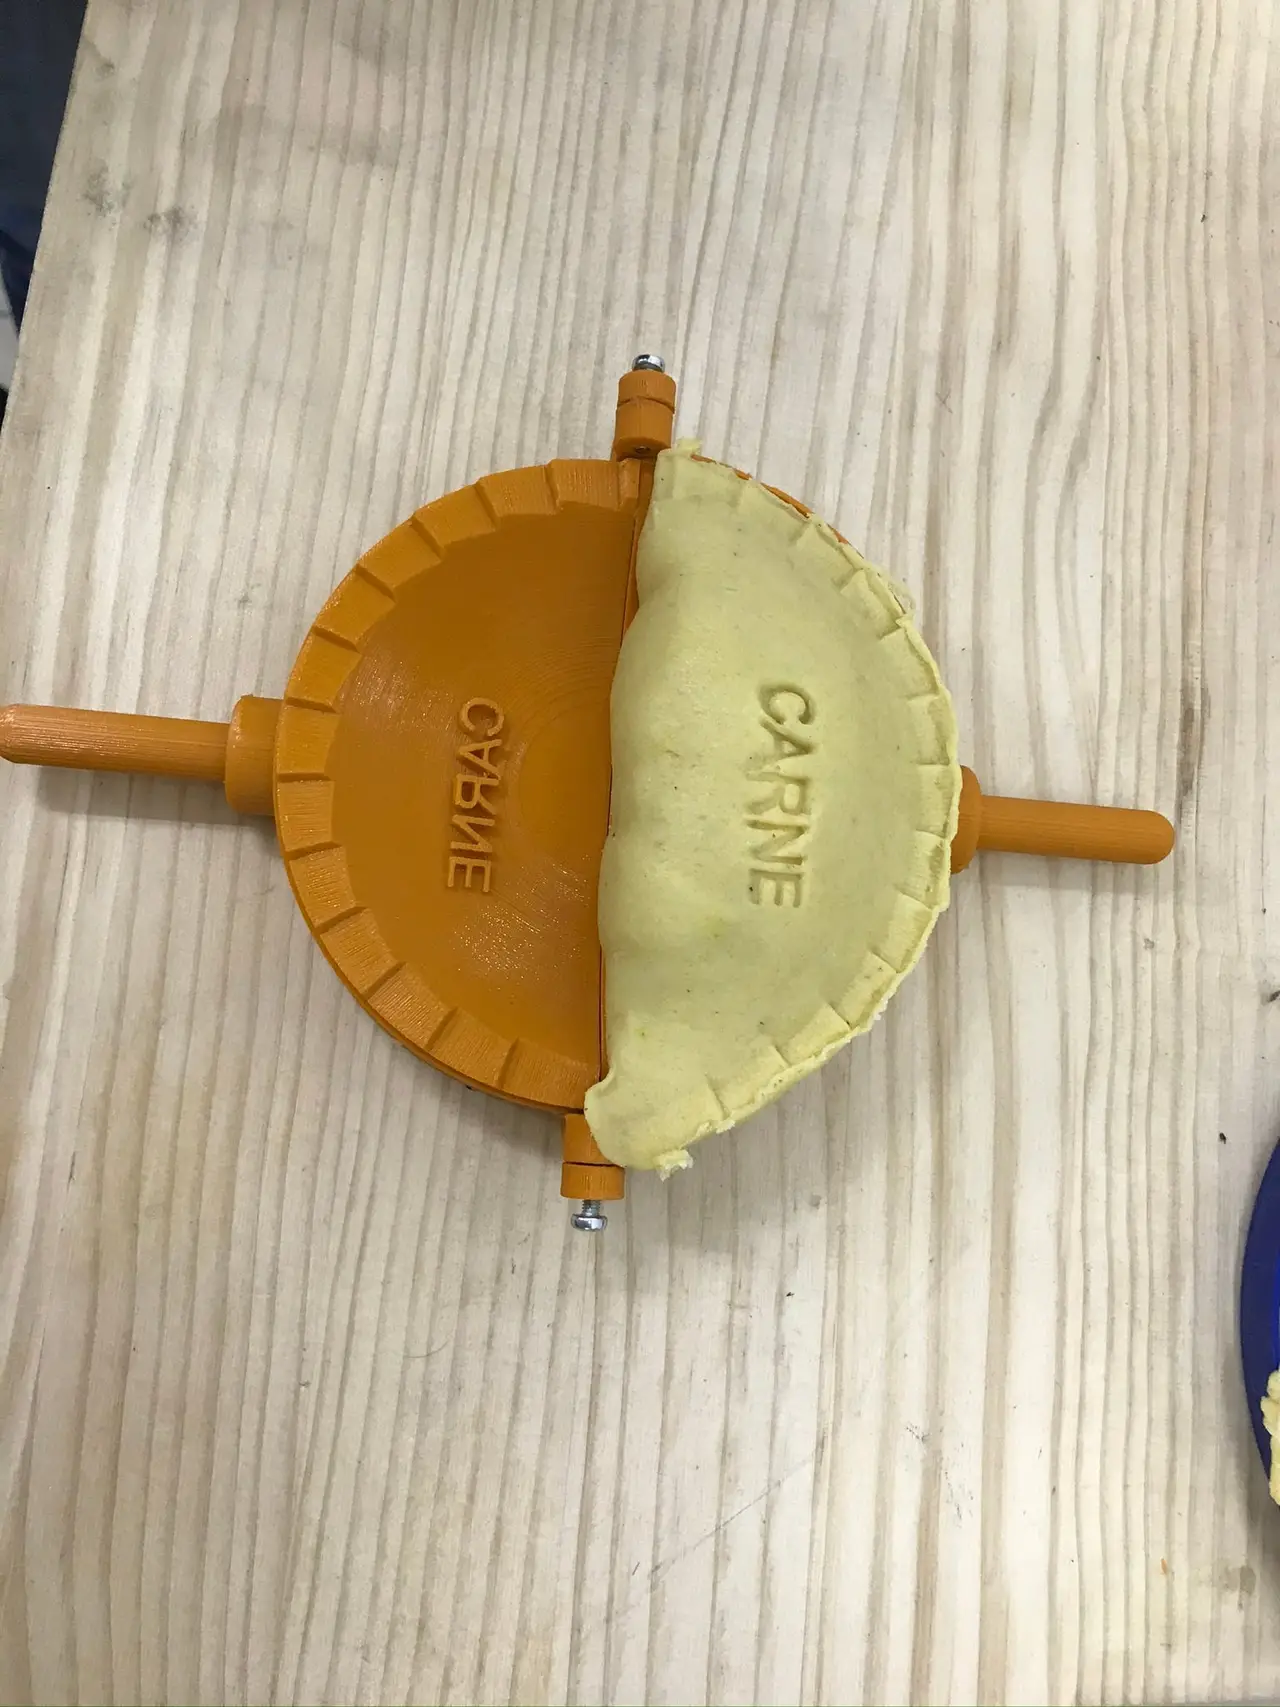
3D Printed Empanada Press / Mold (Interchangeable Filling Stamps)
por Bryand Salamanca en Thingiverse
This is a design project and prototype. I'm sharing it to show the modeling and printing process. 3D printed parts are not food safe by default. If you want to use it with food, keep in mind: - Use certified food-safe filament (PETG or natural, unpigmented PLA) - Print with a stainless steel nozzle.
Licencia
Uso comercial permitidoCC BY-SA 4.0 — Atribución, compartir igual
Puedes usarlo y modificarlo dando crédito; las versiones modificadas deben compartirse con la misma licencia.
Al descargar aceptas respetar la licencia y dar crédito a Bryand Salamanca.
Archivos (7)
- Categoría
- Varios
- Formatos
- STEP, OBJ
- Descargas
- 73
- Publicado
Sobre este modelo
This is a design project and prototype. I'm sharing it to show the modeling and printing process. 3D printed parts are not food safe by default. If you want to use it with food, keep in mind: - Use certified food-safe filament (PETG or natural, unpigmented PLA) - Print with a stainless steel nozzle - Seal the part with food-safe epoxy resin (FDA compliant) - Hand wash with warm water, never in a dishwasher - Replace it if it gets scratched or worn
Use at your own risk. A hinged, clamshell-style press that cuts, crimps, and seals empanada dough in one motion — no folding by hand needed. Place your dough and filling, close the press, and it seals the scalloped edge while stamping the filling name right into the dough. Comes with Carne, Pollo, Queso, and Ranchera stamps included — common fillings here in Colombia — and since the editable STEP file is included, you can design your own stamp for any filling you like. Features - One-motion press: cuts, crimps, and seals the edge in a single close - Interchangeable filling stamps — swap the top half to label what's inside - Long handles for easy leverage, no hand strain - Hinged with a simple M3 bolt + nut pivot — fully printable mechanism - Editable STEP file included — make your own filling stamp (any name/flavor)
What You Need - 2x M3 bolt (hinge pivot) - 2x M3 heat insertsPrinted Parts PartApprox. size (mm)Description Part 1 (handle half)29 x 164 x 129Base half with long handle Part 2 — Carne29 x 146 x 129Stamp insert: "Carne" Part 2 — Pollo29 x 146 x 129Stamp insert: "Pollo" Part 2 — Queso29 x 146 x 129Stamp insert: "Queso" Part 2 — Ranchera29 x 146 x 129Stamp insert: "Ranchera"
Assembly - Print Part 1 and your choice of Part 2 stamp (pick the filling label you want). - Join both halves at the hinge point with the M3 bolt and nut, tight enough to pivot freely but without play. - Place a rolled dough circle over the open mold, add filling, fold the dough over. - Close the press firmly to cut, crimp, and stamp in one motion.
Notes - Want a flavor that's not included? The STEP file is fully editable — swap out the text on Part 2 and print your own custom stamp.
Files - ensamble.step — full assembly, editable - part_1.obj - part_2.obj - part_2_carne.obj - part_2_pollo.obj - part_2_queso.obj - part_2_ranchera.obj
Descripción original del autor, publicada en Thingiverse.